How to Discover and Govern Your Data with Microsoft Purview and Microsoft Fabric
Azure
How Microsoft Purview and Microsoft Fabric work together to empower data discovery and governance
Microsoft Purview is a unified data governance service that helps you manage and govern your on-premises, multi-cloud, and software as a service (SaaS) data. Microsoft Fabric is a new cloud-based data platform that enables you to create, share, and collaborate on data-driven insights with your team. Together, Microsoft Purview and Microsoft Fabric offer a seamless integration that allows you to browse and search Fabric items, access metadata from Fabric items, and apply data policies and classifications to Fabric items.
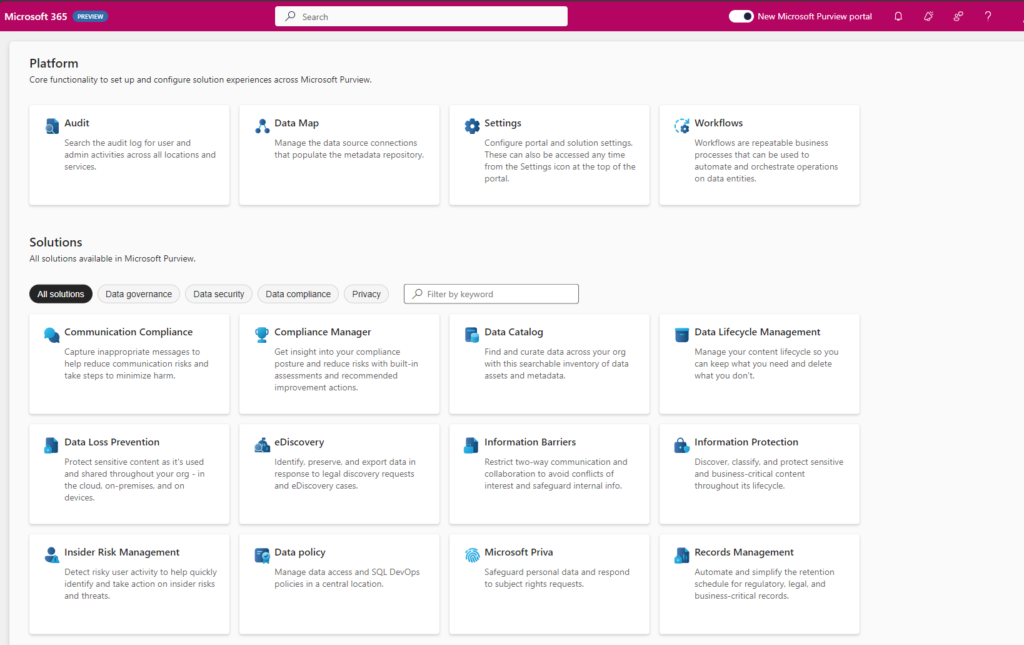
New Portal Experience
A few months ago, Microsoft announced the new portal Experience in Microsoft Purview as it offers a range of exciting new features and capabilities. Data Governance, Risk and Compliance are increasingly integrating into a unified experience. Microsoft Fabric will have a native integration with Microsoft Purview.
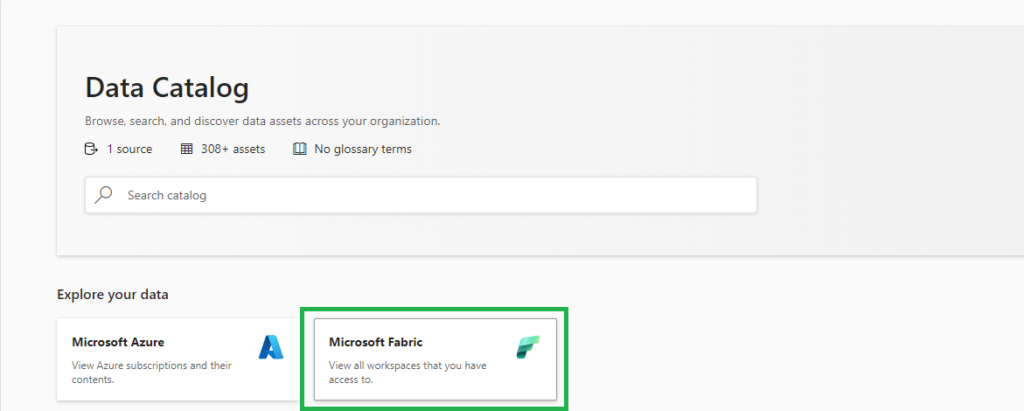
Browse and search Fabric items
Just like Microsoft Azure, Microsoft Fabric is a new source for Microsoft Purview. Since Microsoft Purview is attached to every Fabric instance by default, you can click on the tile “Microsoft Fabric” on the front page of Microsoft Purview Data Catalog to start browsing your Fabric items. Automatically, any user can see the workspaces and Fabric items based on the permission setting they have in Fabric. You can also use the search bar to find Fabric items by keywords, filters, or facets.
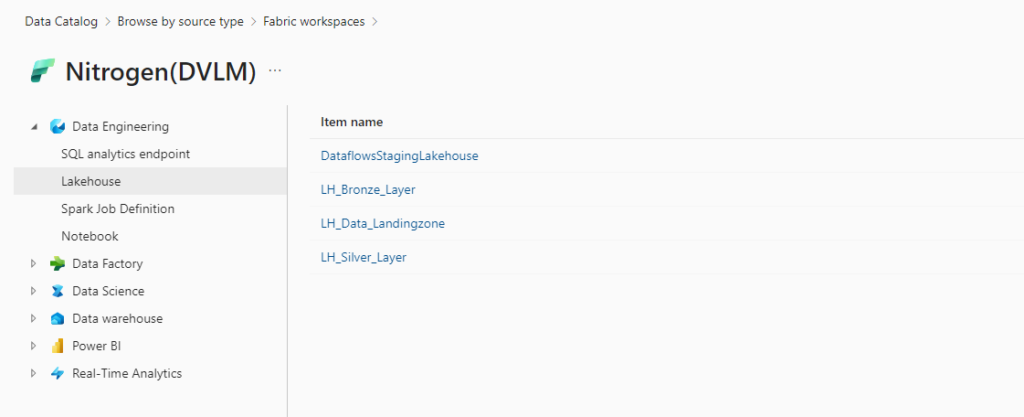
Access metadata from Fabric items
In the coming weeks, Microsoft Purview Enterprise customers can provide broader access to metadata from Fabric items by scanning Fabric. When a Fabric is scanned, Microsoft Purview writes information about Fabric items to the Purview data map, and access to that metadata is governed by Microsoft Purview access control. This allows administrators to give users metadata access for data discovery or governance, without requiring those users to have read permissions on the underlying data sources.
Live view in Microsoft Purview
Resources in live view in the Microsoft Purview Data Catalog automatically have this metadata available:
- Name
- Properties
- Schema
- Lineage
Creating a new workspace in Fabric will automatically appear in Microsoft Purview.
Available resources
The following Fabric items will be available in Microsoft Purview as part of this public preview release.
| Experiences | Fabric items |
| Real-Time Analytics | KQL Database |
| KQL Queryset | |
| Data Science | Experiment |
| ML Model | |
| Data Factory | Data pipeline |
| Dataflow Gen2 | |
| Data Engineering | Lakehouse |
| Notebook | |
| Spark Job Definition | |
| SQL analytics endpoint | |
| Data Warehouse | Warehouse |
| Power BI | Dashboard |
| Dataflow | |
| Datamart | |
| Dataset | |
| Report | |
| Paginated report* |
* Only available by scanning
Conclusion
Microsoft Purview and Microsoft Fabric are two powerful services that work together to empower data discovery and governance. By integrating Microsoft Purview and Microsoft Fabric, you can leverage the benefits of both services, such as:
- Browse and search Fabric items in the Microsoft Purview Data Catalog
- Access metadata from Fabric items without requiring data access permissions
If you want to learn more about Microsoft Purview and Microsoft Fabric, you can visit the following links:
- Wat is Microsoft Fabric?
- Microsoft Purview data governance documentation
- Live view in Purview (preview)
I hope you find this blog post helpful. Please let me know if you have any feedback or questions.
- Fabric Metadata Driven Framework July 2026 Release Notes

- Reassigning Microsoft Fabric Capacities in Bulk: Don’t Let an Expiring Trial Catch You by Surprise
- Bringing Column-Level Lineage from Microsoft Fabric to Microsoft Purview with FMD
- My first experience: Building a Fabric App
- Fabric Metadata Driven Framework update May 2026