Create Virtual Machines with Azure DevTest Lab
A while ago I had to give a training. Normally I would roll out a number of virtual machines in Azure. Until someone brought my attention to an Azure Service, Azure DevTest Labs. With this Azure service you can easily create a basic image and use this image to roll out a series of virtual machines with even the option to automatically clean them up after a training or test period. This way you can also optimally save costs. You have to go through a number of steps and I thought it would be useful to share these steps with you.
Table of Content
-
Configuration in Azure
-
Create Master Virtual Machine
-
Starting the Virtual Machine
-
Creating Base Image
-
Create Training Virtual Machines
Configuration in Azure
Create a Resource Group in which you want to install the Azure DevTest lab. Search for the Azure Service DevTest Labs and click Create.


Lab name:
The DevTest Lab name
Location:
Western Europe or other desired Region
Tags:
Indicate who the Owner is.
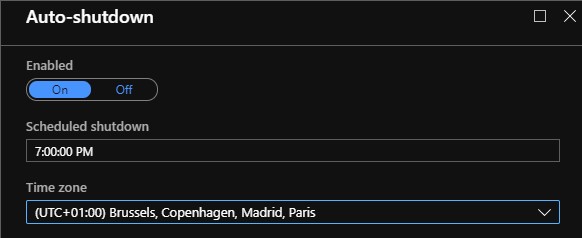
Shut down the machine automatically every day to save costs. Don’t forget to select the correct time zone.
Then click Create to start building the DevTest lab.
After the DevTest lab has been created, the following resources are also created.
StorageAccount: Storage location for your Artifacts
KeyVault: Securely store your DevTest Lab passwords

An important step before we create these Virtual machines is that we must indicate in which Resource Group these Virtual machines will be created later. If we don’t do this, a Resource Group will be created automatically with a name that most likely does not comply with various naming conventions in your company.
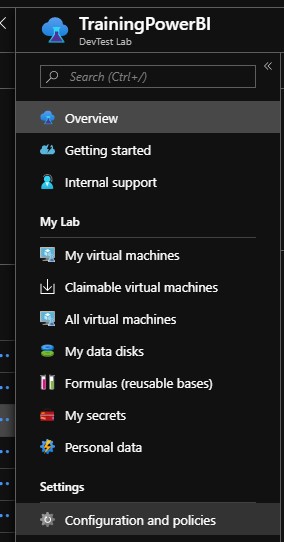
To do this, go to Configuration and Policies.
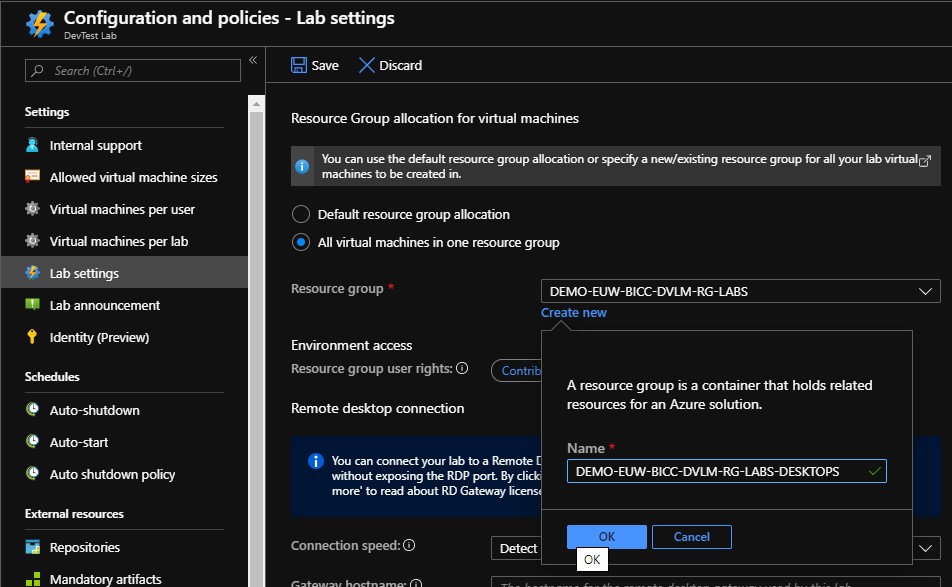
Click on Lab settings and check the box next to “All Virtual machines in one Resource group“, create a new Resource Group as in the example above. Finally save these settings.
Create Master Virtual Machine
If we want to make in a later stadium several training machines, we will first have to make a Base Image. For this we first have to create a Virtual machine.
Go to the newly created DevTest Lab environment and click Add.

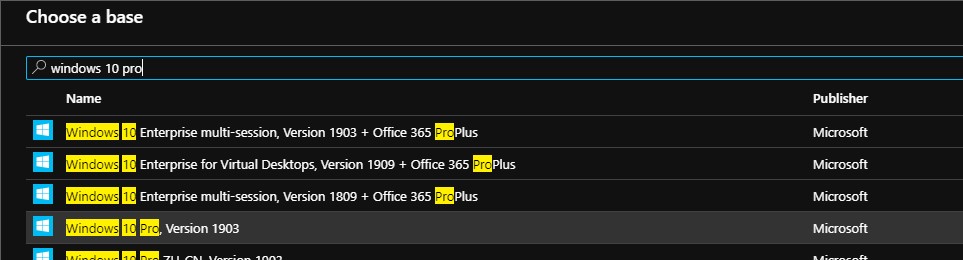
Select a basic Image that you want to use. In this case I have selected a Windows 10 Image.
Virtual machine name:
Give the Virtual Machine a name, the 001 is not necessary for the Master. Note that the name may not be longer than 15 characters.

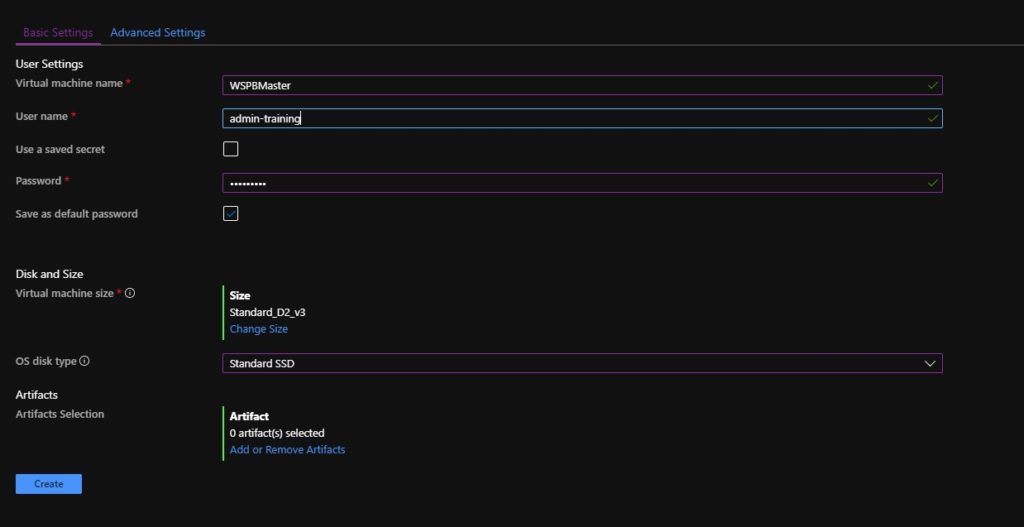
User Name:
Admin account to log in to the Virtual machine
Password:
A default password, check the box next to Save as default Password. The Password is now stored in the Azure Keyvault that was created
Disk and Size:
Select the Size of the Virtual machine here and choose from a Premium SSD, Standard SSD or Standard HDD disk type
Artifacts:
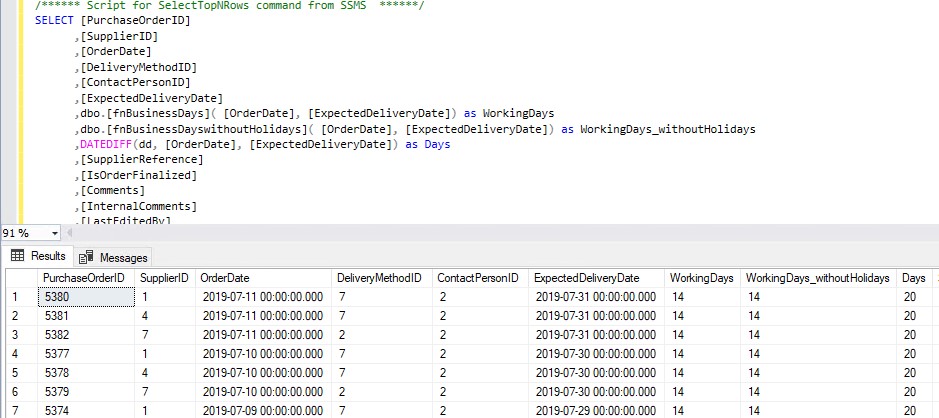
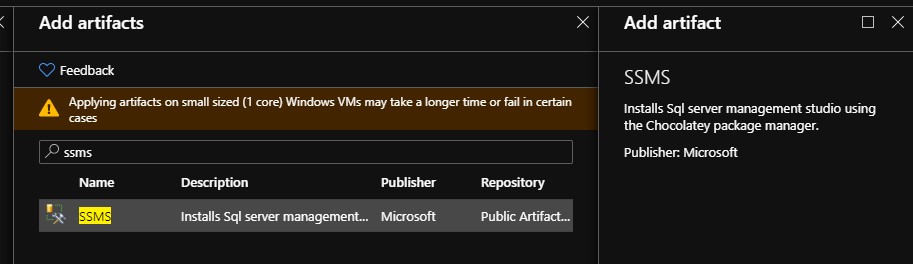
During the creation of the Virtual Machine, we can immediately perform a number of installations so that they are available in the default Image to be created. Below I have selected to add SSMS.
Then click on Advanced settings.
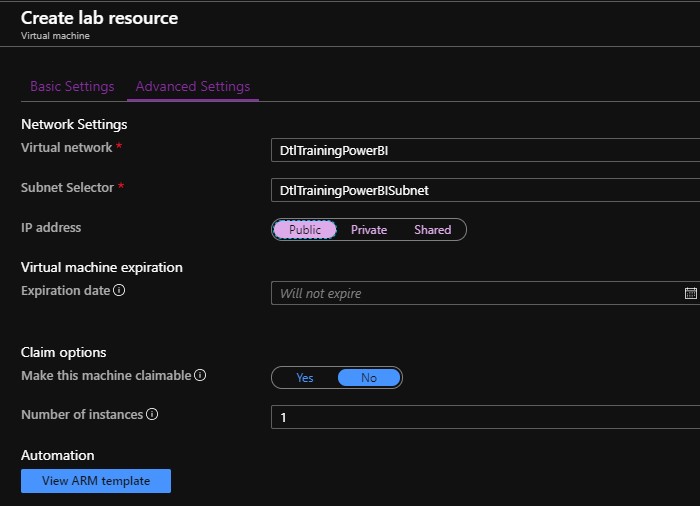
Set the ip-address to Public.
Go back to Basic Settings and click on Create to create the Virtual Machine

Starting the Virtual Machine

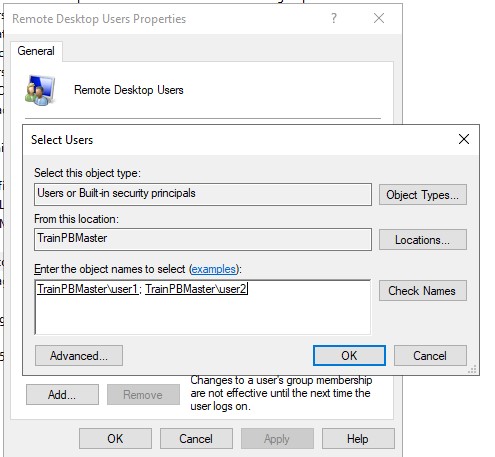
After the machine is started up, create 2 users which can be used during the training. Add this to the Remote Desktop user group, you can also add them to the Administrator group so that the student has all rights to this machine.
Install the Software that you want to use.
In this situation I have installed Power Desktop from the Windows Store, so that it always stays up to date.

In addition, I have installed SQL Server 2017 Developer Edition with a WorldWIdeImporters database.

It is important that you add the above created users as Admin users during the installation of eg Analysis services so that a student has sufficient rights to follow his training.
Then log in with 1 of the created users and check if everything works.
Then shutdown the Virtual Machine.
Creating Base Image
Select the Master Virtual Machine:
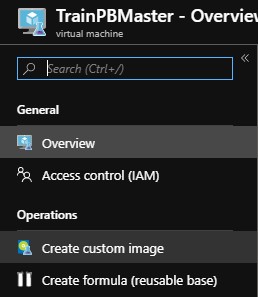
Click Create custom Image:
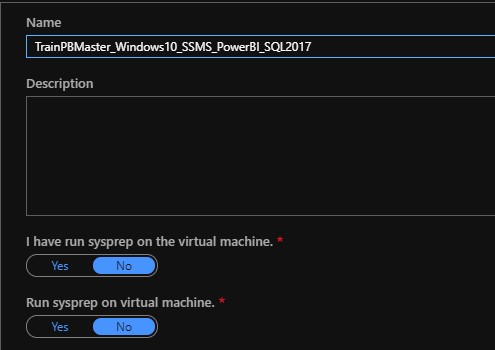
Give the image a name that you recognize it later and click on Create.
Create Training Virtual Machines
To create the Training Virtual Machines, we do actually the same as with the master.
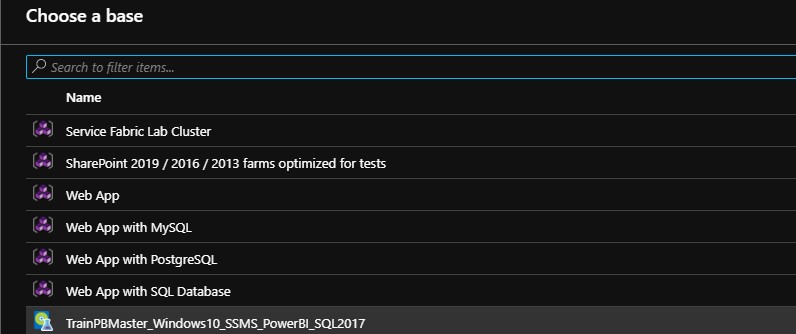
We are adding a new one, only now we select as Base the Image we just made.
Give the machine a name, do not use numbers at the end as specified by default. These numbers will be added automatically when creating multiple machines.

Disk and Size:
Select the Size of the Virtual machine here and choose from a disk type Premium SSD, Standard SSD or Standard HDD. Useful here is to use the same Disk Type that you used with the Master.
Artifacts:
If you want to add another Artifact, you can do that here, but in principle we already have it in our Base Image.
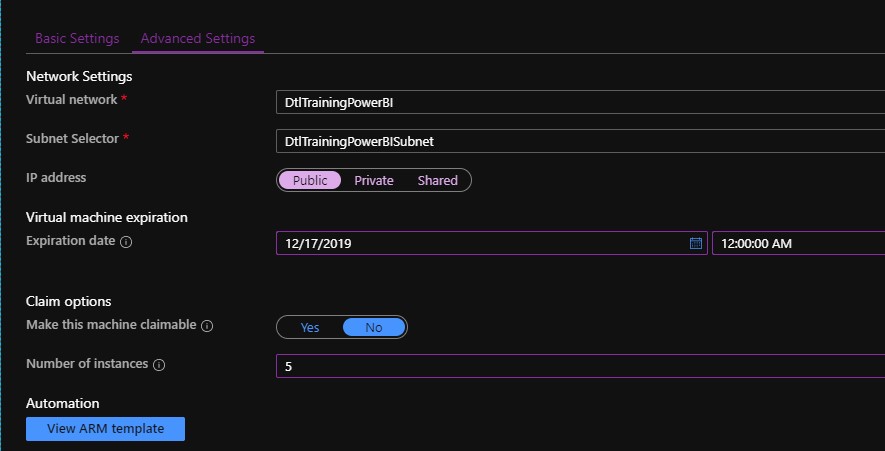
Virtual Machine expiration:
As it concerns training machines, we also want them to be removed automatically after the training.
Then go back to the Basic Settings and click on Create.
Number of instances:
Define how many training machines you would like to create.
Go back to the Tab Basic Settings and click on Create.
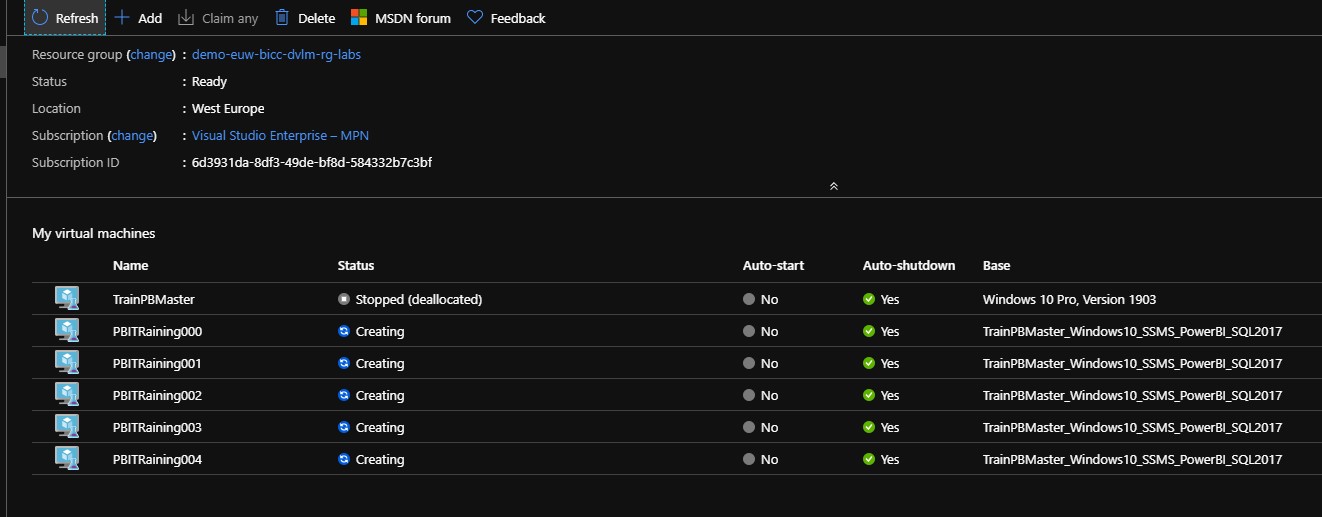
The number of machines you have selected are immediately created with an increasing number. After the creation is complete, Students can now log into this Virtual Machines from their own laptop or desktop at PBITraining001.westeurope.cloudapp.azure.com with the User1 account, which we created in an earlier stage.