Azure Data Factory Let’s get started
Creating an Azure Data Factory Instance, let’s get started
Many blogs nowadays are about which functionalities we can use within Azure Data Factory.
But how do we create an Azure Data Factory instance in Azure for the first time and what should you take into account? In this article I will take you step by step on how to get started.
First we have to login in the Azure Portal.

Search for Data Factories and select the Data Factory service.
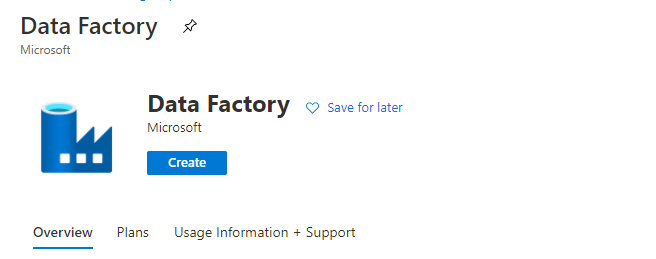
Secondly we have to create a Data Factory Instance.
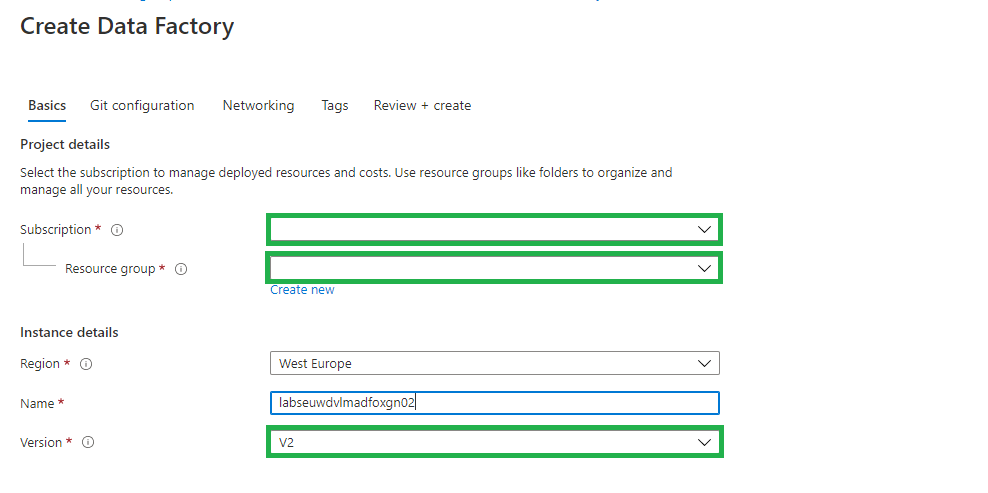
Fill in the required fields:
- Subscription => Select your Azure subscription in which you want to create the Data Factory.
- Resource Group =>Select Use existing, and select an existing resource group from the list or click on Create new, and enter the name of a resource group(a new Resource Group will be created)
- Region => Select the desired Region/Location, this is where your Azure Data Factory meta data will be stored and has nothing to do where you create your compute or store your Data Stores.
- Name = > Create a unique name in Azure.
- Version => Always select V2 here, this contains the very latest developments and functionalities. V1 is only used for migration from another V1 instance.
Select Next: Git configuration
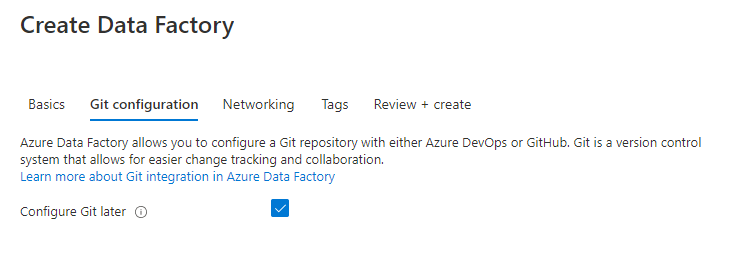
Enable the option to configure Git later, we will configure this later in Azure Data Factory.
Select Next: Networking:
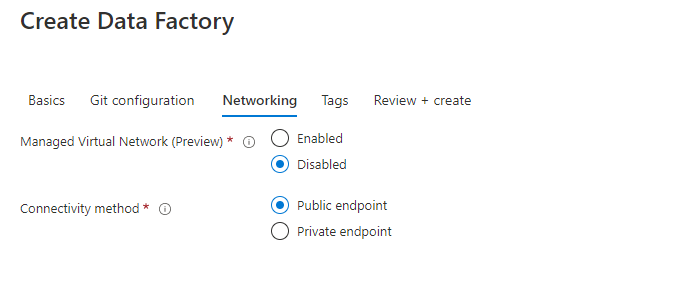
Leave the options as is. I will explain the Connectivity Method in one of my next articles.
Select Next: Review + Create:
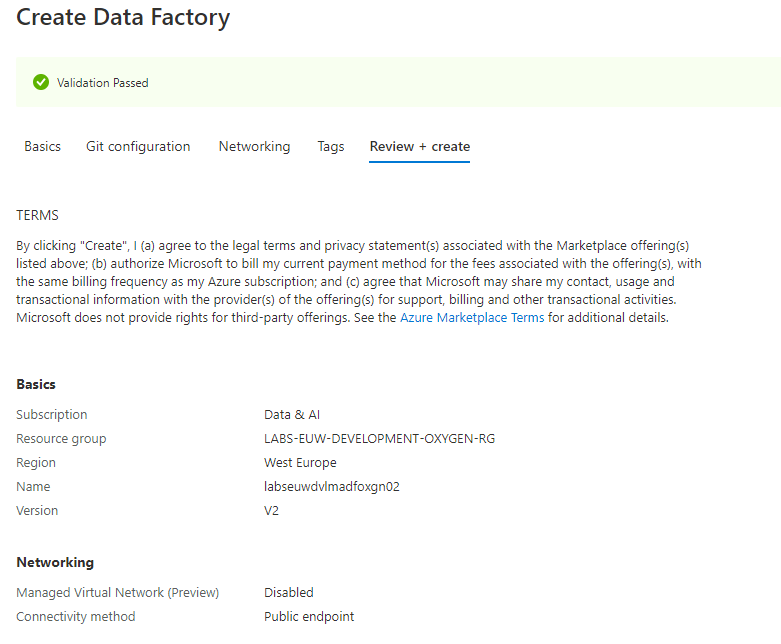
Your Azure Data Factory Instance will be created. Once you have created your Azure Data Factory, it is ready to use and you can open it from selected Resource Groups above:

Select Author & Monitor:

Encrypt your Azure Data Factory with customer-managed keys
Azure Data Factory encrypts data at rest, including entity definitions and any data cached while runs are in progress. By default, data is encrypted with a randomly generated Microsoft-managed key that is uniquely assigned to your data factory. But you also Bring Your Own Key (BYOK) more details can be find in my previous written article “Azure Data Factory: How to assign a Customer Managed Key“
Please be aware that you have to assign this key on an empty Azure Data Factory Instance.
Roles for Azure Data Factory
Data Factory Contributor role:
Assign the built-in Data Factory Contributor role, must be set on Resource Group Level if you want the user to create a new Data Factory on Resource Group Level otherwise you need to set it on Subscription Level.
User can:
- Create, edit, and delete data factories and child resources including datasets, linked services, pipelines, triggers, and integration runtimes.
- Deploy Resource Manager templates. Resource Manager deployment is the deployment method used by Data Factory in the Azure portal.
- Manage App Insights alerts for a Data Factory.
- Create support tickets.
Reader Role:
Assign the built-in reader role on the Data Factory resource for the user.
User can:
- View and monitor the selected Data Factory, but user can not edit or change it.
More on how to assign roles and permissions can be found here.
Thanks for reading, I my next blog I will describe how to Set up your Code Repository.


0 Comments