
Data Sharing in Microsoft Purview
In today's world, data is the key to success for businesses. The more data a business has, the better it can make decisions and stay ahead of its competitors. However, data is not always easy to come by, and many businesses struggle with finding and accessing the data they need. This is where Microsoft Purview comes in.
Benefits
There are several benefits for data sharing in Microsoft Purview:
- Safe time and resources from the business
- Share data, Businesses can control who has access to their data
- Secure, Businesses can control who has access to their data
Data sharing scenarios
Microsoft Purview Data Sharing can help with various data sharing scenarios, including:
- Collaborate with external business partners while maintaining data security in your own environment.
- Outsource data transformation and processing to third party ISVs or data aggregators by sharing raw data and receiving normalized data and analytics results back.
- Automate sharing of big data (for example: IoT data, scientific data, satellite and surveillance images or videos, financial market data) in near real time and without data duplication.
- Share data between different departments within the organization.
In place Data Sharing/Receiving in Microsoft Purview
Currently in Preview
Requirements:
Or do we need to say current limitations:
- Supported Azure Regions: Canada Central, Canada East, UK South, UK West, Australia East, Japan East, Korea South, and South Africa North
- Performance: Standard
- Redundancy Options: LRS, GRS, RA-GRS
- Storage Accounts: ADLS Gen2 or Blob Storage accounts
- Source and Target storage account must be in the same region, this can be different from your Purview Account
Before we can start we need to register the AllowDataSharing feature on the subscription.
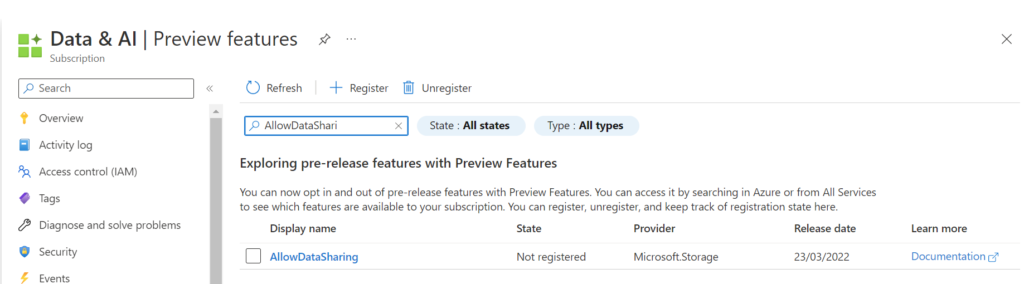
Attention
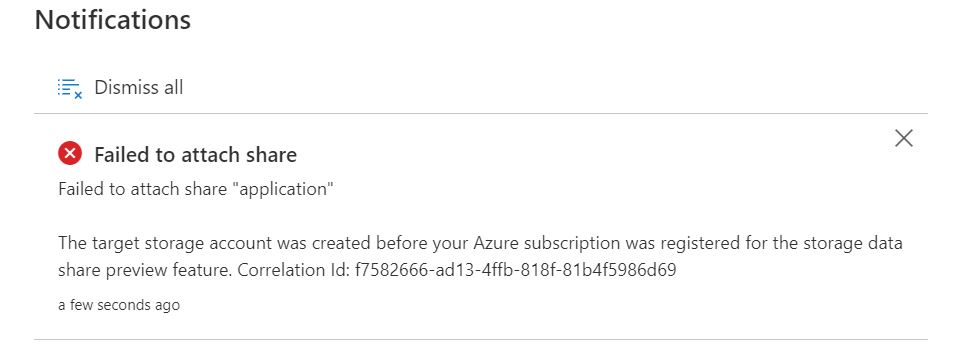
Only storage accounts registered after registration will work. If you did the registration after the storage account creation you will receive the following error message upon creation of the data share:
Create Share
To create a Data Share you must have the Microsoft Purview Collection Role, Data Share Contributors, assigned.
The first time you will start using Data Sharing and you're a Guest user, your account must first be associated with the Azure Active Directory.
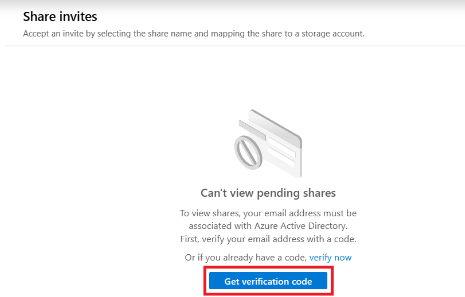
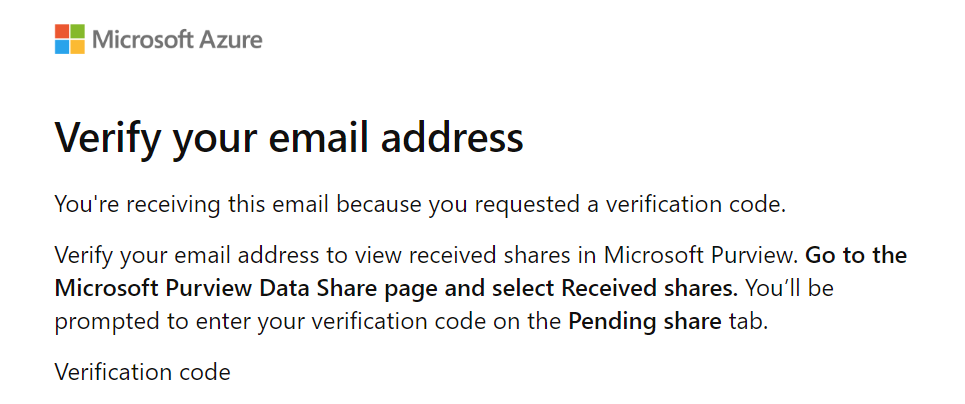
You will receive a email with code, copy/paste the code before you continue.
To enable a data Share, select the Azure Storage or Azure Data Lake Storage (ADLS) Gen 2 data asset you would like to share data from.
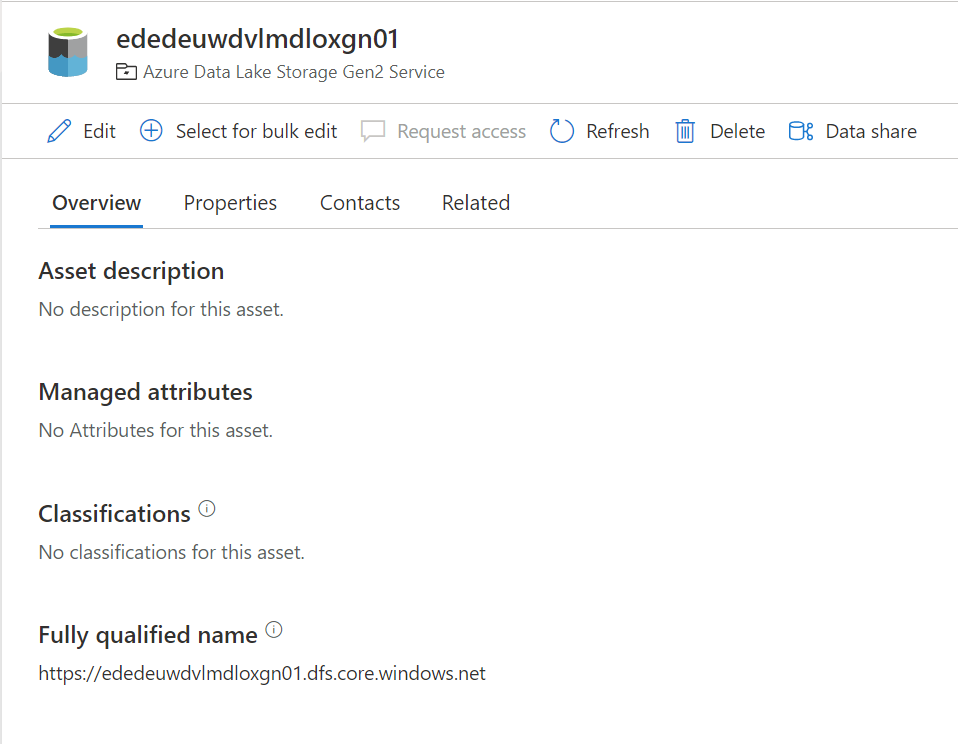
Click on Data Share.
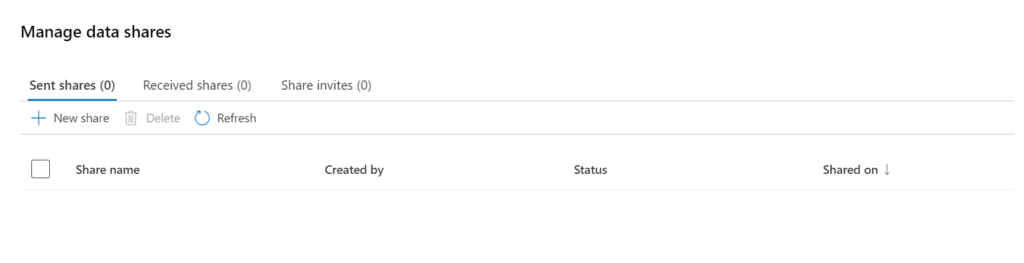
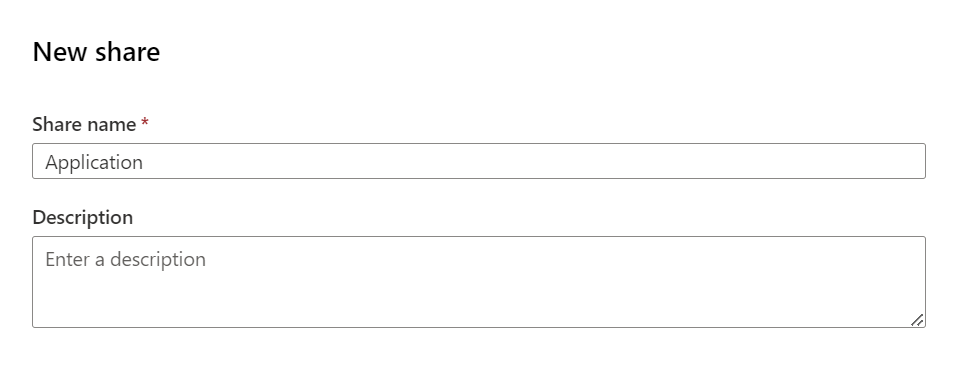
Create a New Share. Specify a name and a description of share contents (optional). Then select Continue.
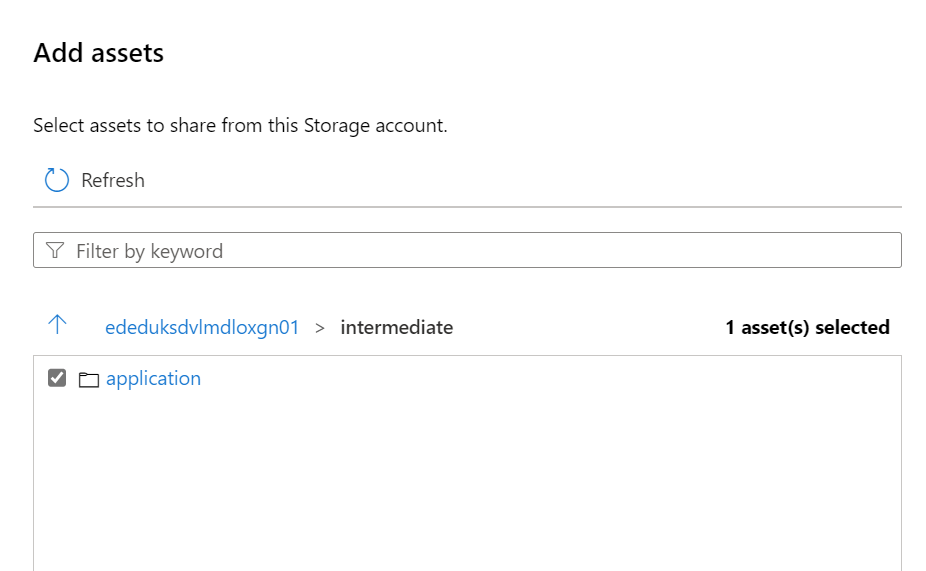
Search for the assets you want to Share and specify the Share name.
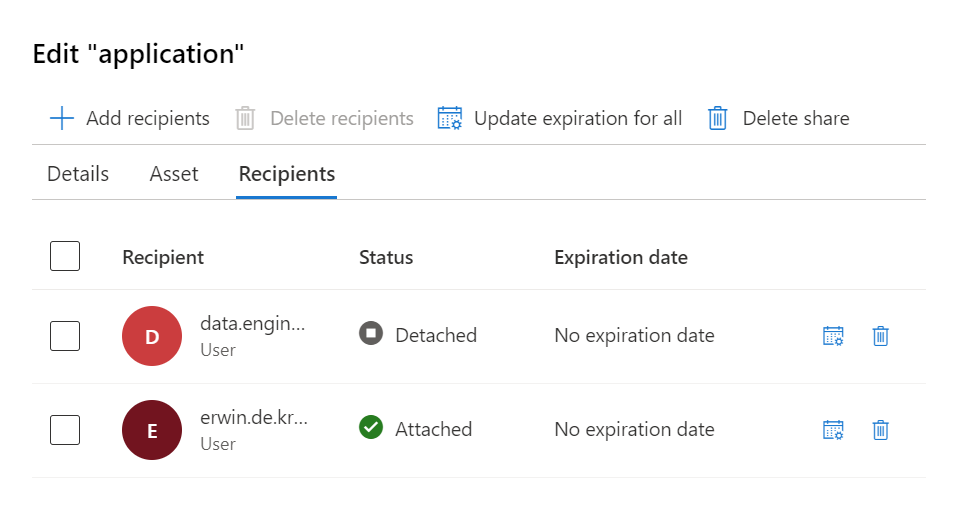
Add the Recipient, in this situation I've selected a user in a different tenant but you can also select in the same tenant, same subscription or different subscription.
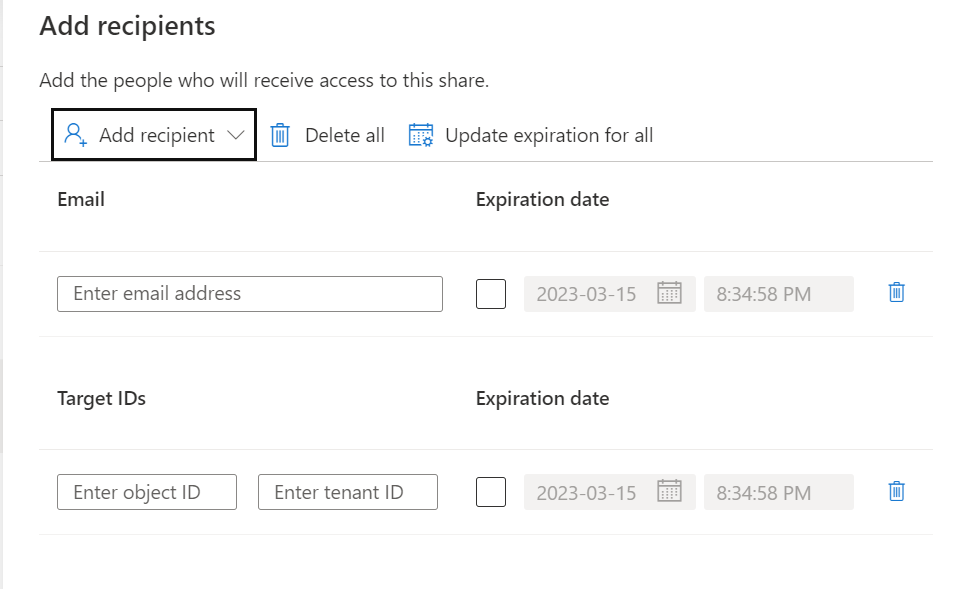
Add the Recipient, in this situation I've selected a user in a different tenant and defined an expiration date of the share, the share will be terminated on this date.
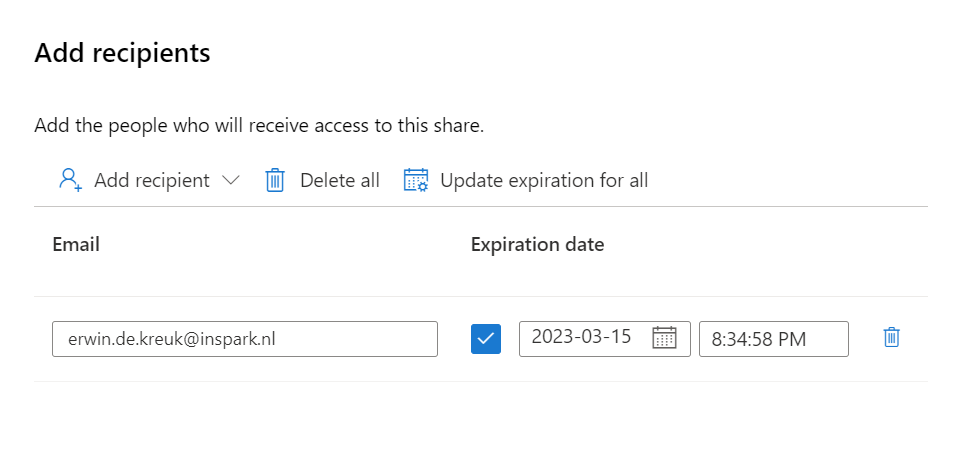
Click on Create and Share, adding more users can be easily done afterwards.
The Share is created, The recipients of your share will receive an invitation and they can view the pending share in their Microsoft Purview account.
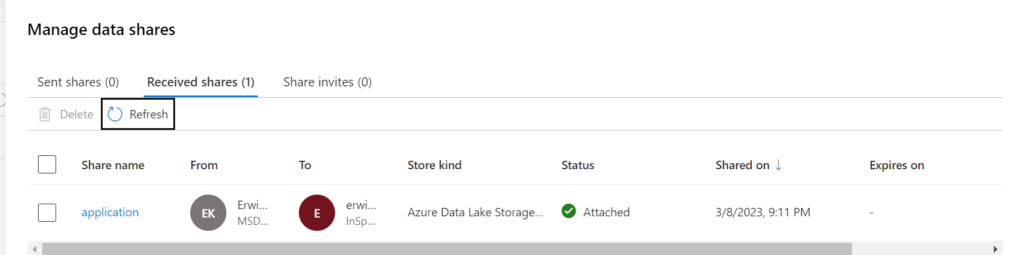
In Purview you will have an overview of all Shares you created:

Receive Share
Now we have setup the Sent Share, we're ready to receive the data. In this situation, it will be a different Purview account in a different Tenant.
All invites which have been shared and not have attached can be found in the Share Invites tab.

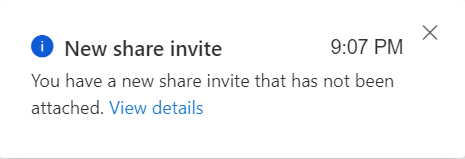
A notification will also be send, that a new Invite has been received.
Click on Receive Share to attached to the correct Storage Account, make sure that the AllowDataSharing feature on the Azure Subscription has been registered, otherwise you will receive the message below.

Select the Storage account where you want to receive data or create a new storage.
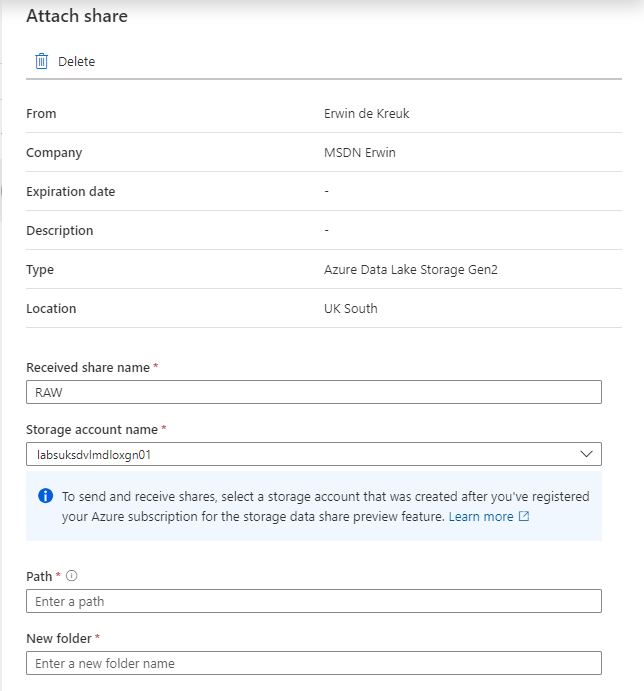
- Received share name: Leave as is or change it as you like it.
- Path: New or existing container in Storage Account
- Folder: The Folder where you want to receive the data
Attach the target to continue. When the storage account is attached you will see that on the Received Share overview.
You can now access the shared data in your storage account.
In the Purview account where we create the data Share we can also see that the data is attached.
Great to know, in the receive share the data is read-only, updated data in the sent share will be synced in real-time to the receive share.
In my next blog I will explain, how Microsoft Purview Data Sharing Lineage will work, just as a quick teaser. Have look in you data Assets, you will now find a new data asset:
Conclusion
Data sharing is a crucial component of modern business, and Microsoft Purview makes it easy and secure. By sharing data within and across organizations, businesses can improve collaboration, save time and resources, and stay ahead of their competitors. If you're interested in learning more about Microsoft Purview and its data sharing capabilities, be sure to check it out!
If you want to know more on Data Share Lineage in Microsoft Purview you read my blog on that topic.
Like always, if you have any questions leave them in the comments.
Documentation Links as reference:
How to share data in Microsoft Purview
- Fabric Metadata Driven Framework July 2026 Release Notes
- Reassigning Microsoft Fabric Capacities in Bulk: Don’t Let an Expiring Trial Catch You by Surprise

- Bringing Column-Level Lineage from Microsoft Fabric to Microsoft Purview with FMD
- My first experience: Building a Fabric App

- Fabric Metadata Driven Framework update May 2026

Feel free to leave a comment
Discover more from Erwin | Data & Intelligence
Subscribe to get the latest posts sent to your email.
0 Comments