Azure Data Factory: New functionalities and features
ADF
New functionalities and features
Last week, a number of great new functionalities and features were added within Azure Data Factory. I would like to take you in some details in the blog below:
Customer key
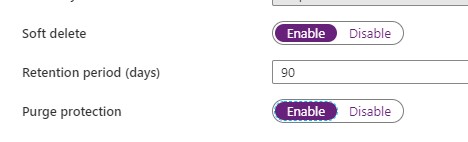
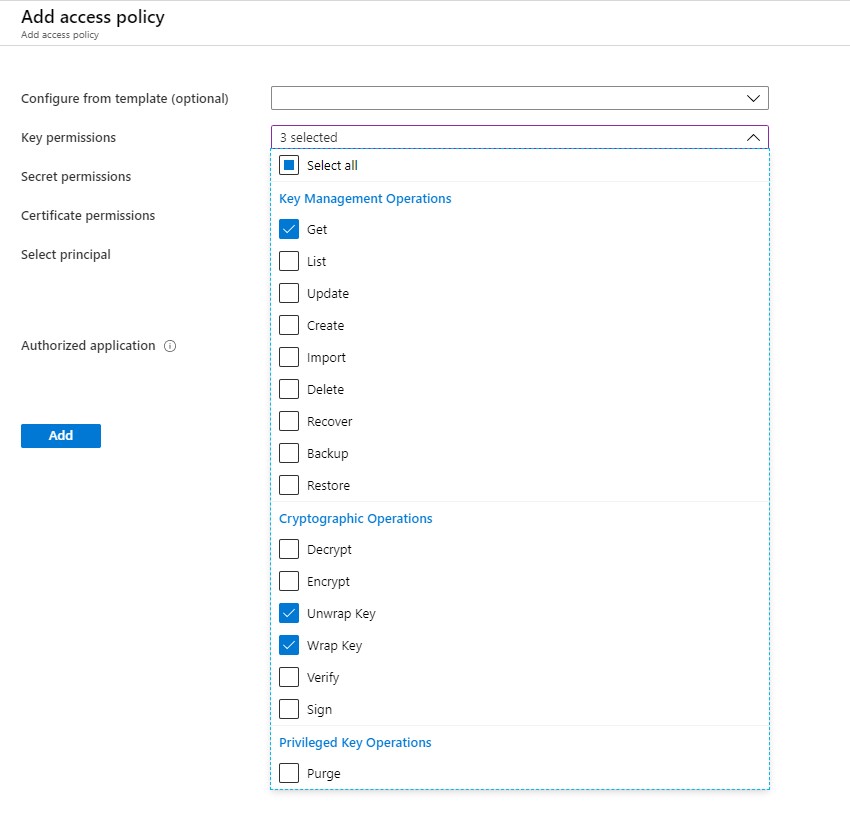
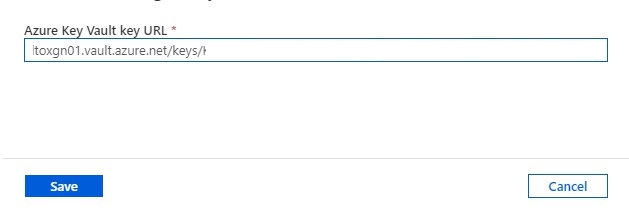
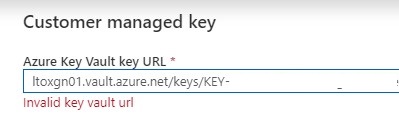
With this new functionality you can add extra security to your Azure Data Factory environment. Where the data was first encrypted with a randomly generated key from Microsoft, you can now use the customer-managed key feature. With this Bring Your Own Key (BYOK) you can add extra security to your Azure Data Factory environment. If you use the customer-managed key functionality, the data will be encrypted in combination with the ADF system key. You can create your own key or have it generated by the Azure Key Vault API.
You can read more in this Article which I wrote.
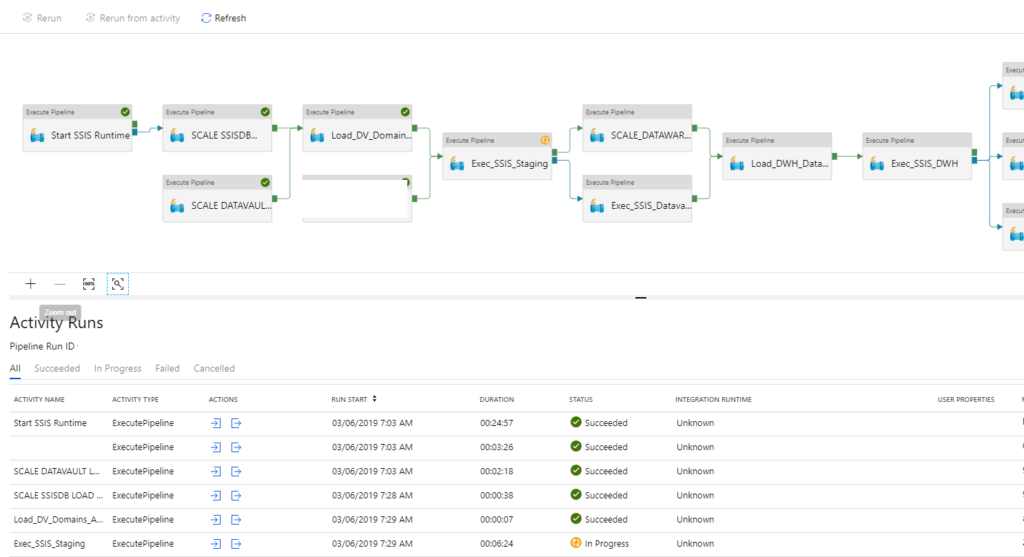
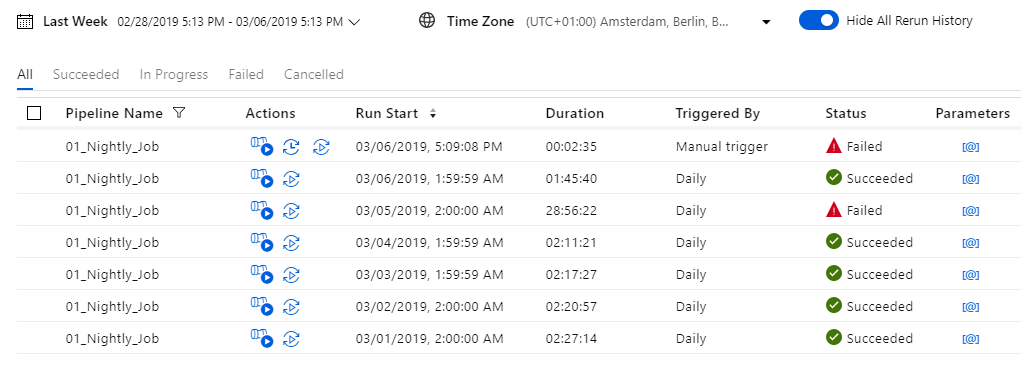
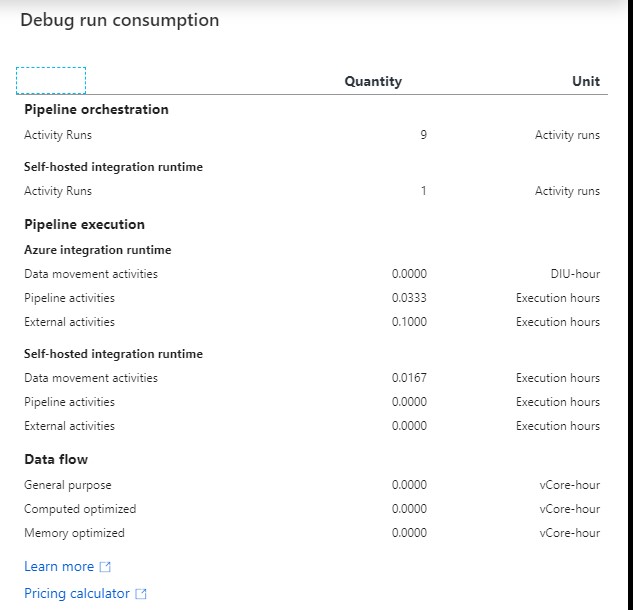
Pipeline Consumption Report
Last week the Azure Data Factory added the Pipeline Consumption Report.
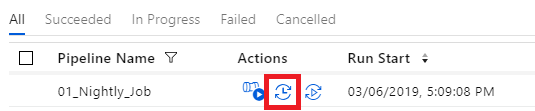
The report can be used for your Triggered runs, just go to your Triggered runs and click on the new Icon.
The consumption of the selected Pipeline will be displayed. The data shown is only from this Pipeline and not from other Pipelines fired by this Pipeline. Would be a nice addition if the report shows the aggregation of the complete Triggered Run.
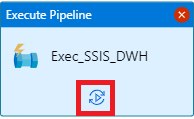
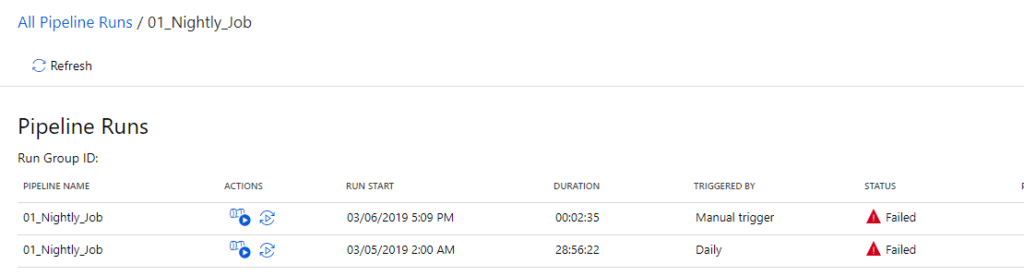
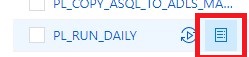
For your debug run, click on right site of your Output pane:

The ADF consumption report is only surfacing Azure Data Factory related units. There may be additional units billed from other services that you are using and accessing which are not accounted for here including Azure SQL Database, Synapse Analytics, CosmosDB, ADLS, etc. More detailed can be found here.
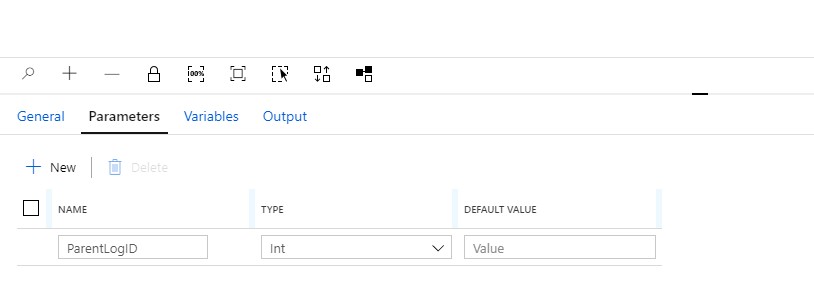
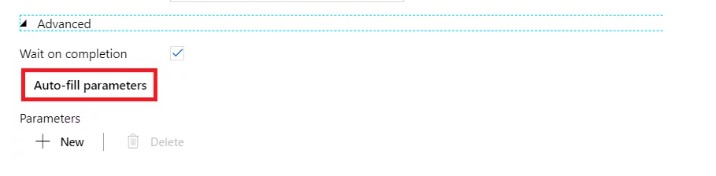
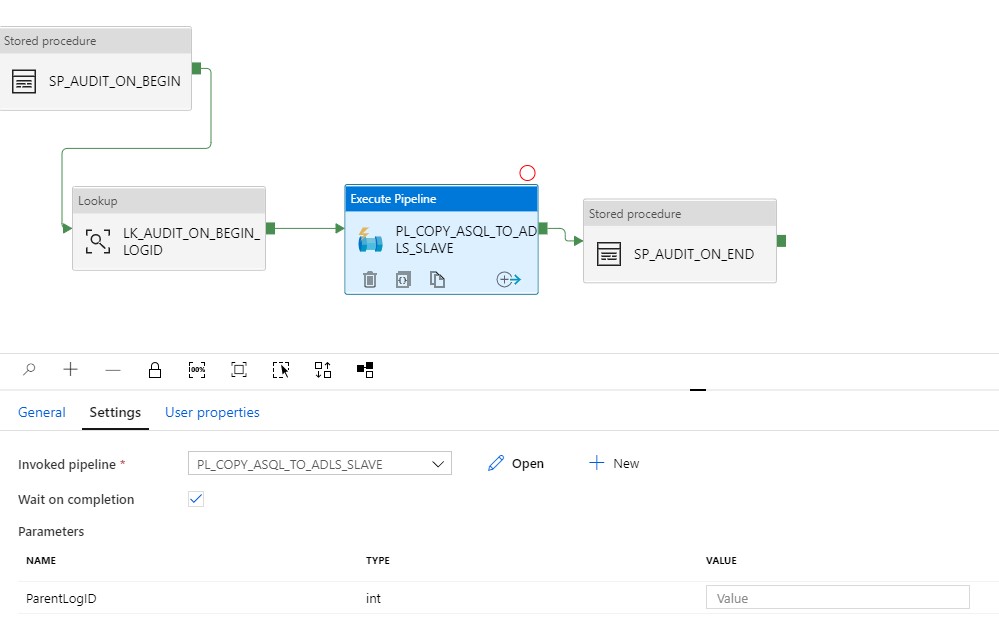
Parameters from Execute Pipeline Activity
When calling a Pipeline you first had to add the parameters yourself, now they are automatically taken over from the Pipeline you select. Very handy and saves time again if you use a lot of parameters.
Define a Parameter in one of your Pipelines:

Create another Pipeline and add the Execute Pipeline activity. On the settings tab where you have to select the Pipeline you want to execute, you will discover that the option to add Manually the parameters is not there anymore. But, all the Parameters you had defined in your Pipeline are directly shown. Very handy and it reduces errors.
Old Situation:
New Situation:
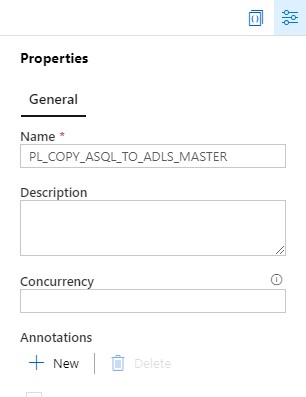
General Tab moved to new Properties Pane
Your General tab is now moved to the right site of the Canvas.

To edit it your properties, click on the pane icon located in the top-right corner of the canvas.
So these were some nice and useful addition to Azure Data Factory. I am very happy with it and what do you think?
- Fabric Metadata Driven Framework July 2026 Release Notes

- Reassigning Microsoft Fabric Capacities in Bulk: Don’t Let an Expiring Trial Catch You by Surprise
- Bringing Column-Level Lineage from Microsoft Fabric to Microsoft Purview with FMD
- My first experience: Building a Fabric App
- Fabric Metadata Driven Framework update May 2026