Assign and Provision users and groups in the Enterprise Application
In the previous blogyou learned how to configure the Enterprise Application. In this blog, you will learn how to assign and Provision Users and Groups.
Once the Users and groups are assigned to the Enterprise application you can provision the Users and groups to your Azure Databricksaccount or Azure Databricks Workspace.
Add users and groups
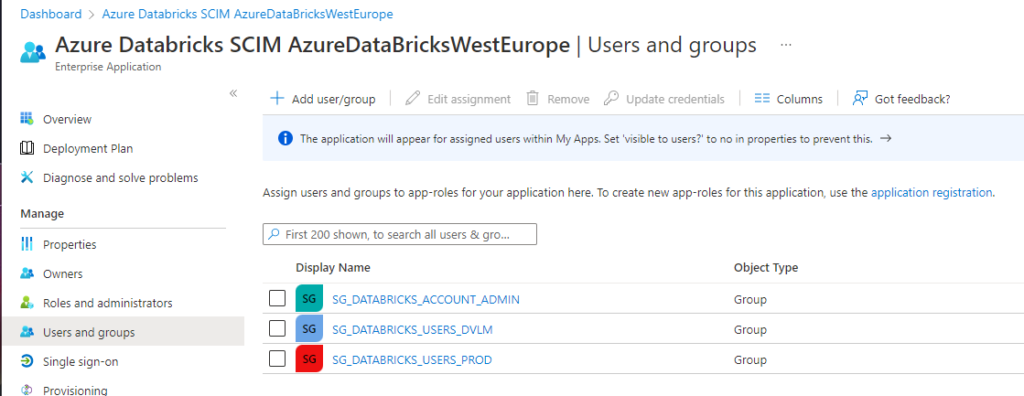
Click on the Add user/group in the Enterprise application on the left pane to add the required users and groups.
When you see above message, that means that you don't have a Premium Azure Active Directory edition account. Don't worry, you can still provision users, for Groups you to need a Premium edition.
Note: If you have existing Azure Databricks workspaces, in case you sync on Account Level, make sure that you add all existing users and groups in those workspaces to the above Enterprise application.
Start the provisioning
The last step is to provision the users and the groups. The provision will automatically sync the assigned users and groups to your Azure Databricks account.
Go back to the provisioning option on the left pane.
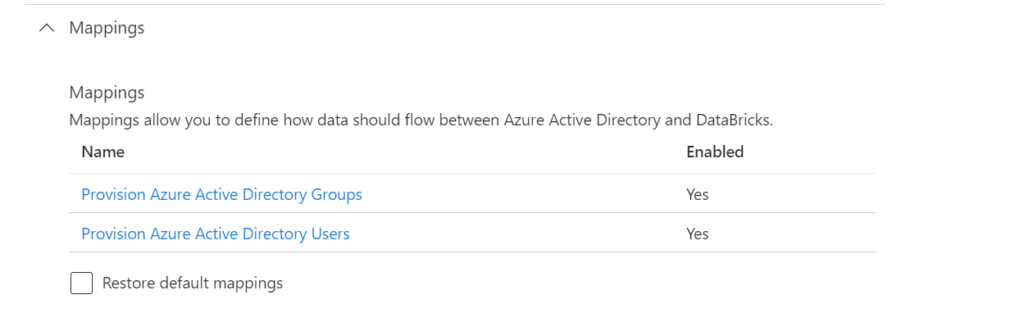
Mappings
Enable the user and group sync option in the mappings section.
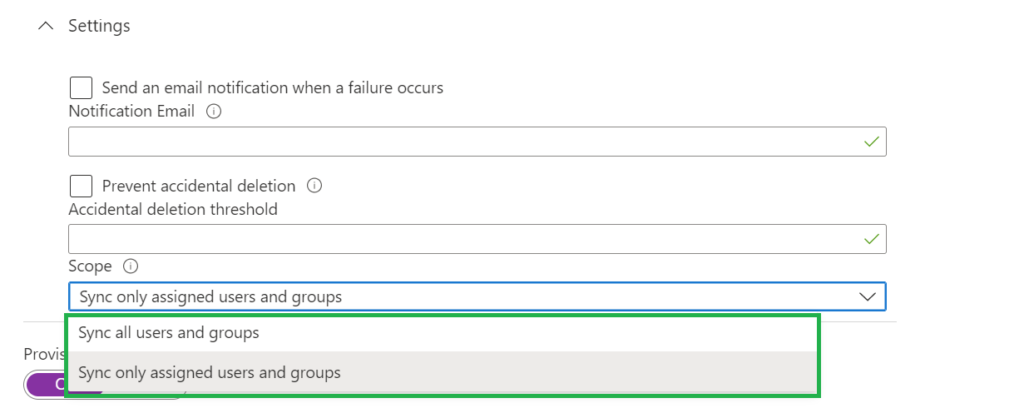
Settings
Set the scope to Sync only assigned users and groups, otherwise all your users in your Azure Active Directory will be synced, which is not necessary
The next step is, set the Provisioning Status toggle to on.
After a few minutes your users will be synced.
There are 2 more options which we can set:
Notification Email: Send an email notification when a failure occurs
Prevent accidental deletion: Set a threshold for Accidental deletion more on how this works can be found here.
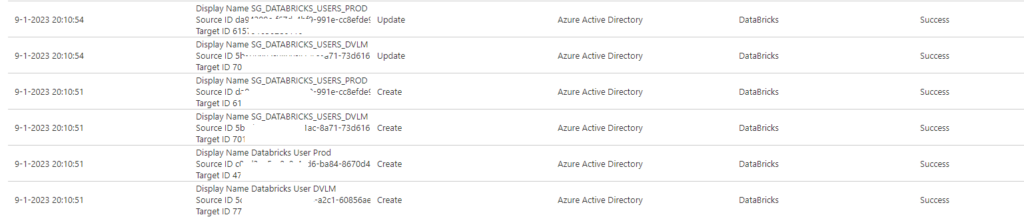
Checking the Provisioning Logs
Once the provision of the users and groups has been done, you can check the details in the provision logs.
Click on the left side provisioning:
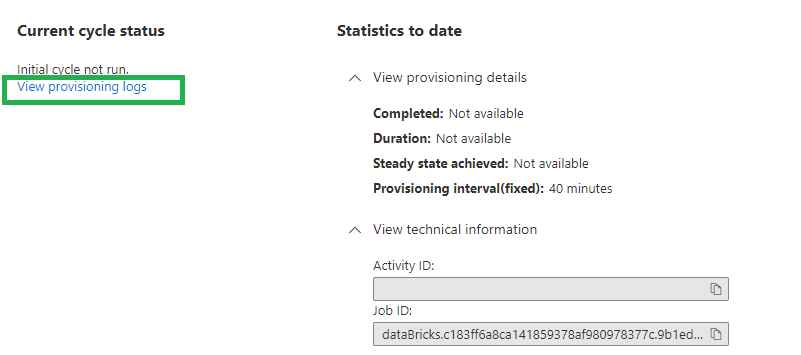
The details of the provisioning should be visible now, good to know that the interval of syncing is fixed to 40 minutes.
Click on the View provisioning logs to see a detailed overview of the sync.
Tips and tricks for Provisioning
The interval of syncing is fixed and set to 40 minutes, the initial one is directly started.
The username or email address of an Azure Databricks workspace user cannot be updated.
The admin group cannot be used as Group name.
Groups cannot be renamed in Azure Databricks or in the Azure Active Directory.
Nested groups or service principals cannot be synced.
Blog Serie: Provisioning identities from Azure Active Directory to Azure Databricks.
Instead of adding users and groups manual to your Azure Databricks environment, you can also sync them automatically from your Azure Active Directory to your Azure Databricks account with SCIM. This is one of the recommendations from Databricks.
Other advantages are:
Stream less onboarding of new employees or teams in Azure Databricks.
Users can be easily deleted from the Azure Databricks workspaces through the Azure Active Directory. This ensures a consistent offboarding process and prevents unauthorized users from accessing sensitive data.
Their are a couple of important requirements to have in place before we can start, you need to have or be:
Azure Databricks account with a Premium Plan.
Azure Databricks account admin to provision users to your Azure Databricks account using SCIM.
Azure Databricks workspace admin to provision users to an Azure Databricks workspace using SCIM.
Azure Active Directory account must be a Premium edition account to be able to provision groups.
Provisioning of users is available for all Azure Active Directory editions (including the Azure AD Free)
Blog Serie
This blog post series contains the following topics, which I will post in the next few days:
There are 2 different options to provision users and groups to Azure Databricks using Azure Active Directory (AAD) at the Azure Databricks account level or at the Azure Databricks workspace level. This post is related to the Azure Databricks Account Level.
Configure the Enterprise Application(SCIM) for Azure Databricks Account Level provisioning
Make sure that you're an Azure Databricks account admin. If you're not an account admin, check who is an account admin( you see this on the main page of the user Management option). Ask the Account admin to grant you access, they can do this by clicking on the account name.
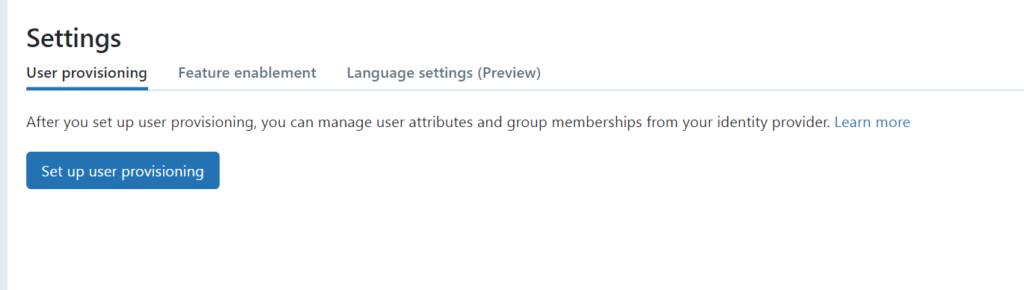
Once you're Account Admin, click on the left side, click on the user setting icon(red).
Click on User Provisioning and click on set-up user provisioning.
Copy the SCIM token and the Account SCIM URL and store them in an Azure Key Vault. We need these settings later to configure the Enterprise Application.
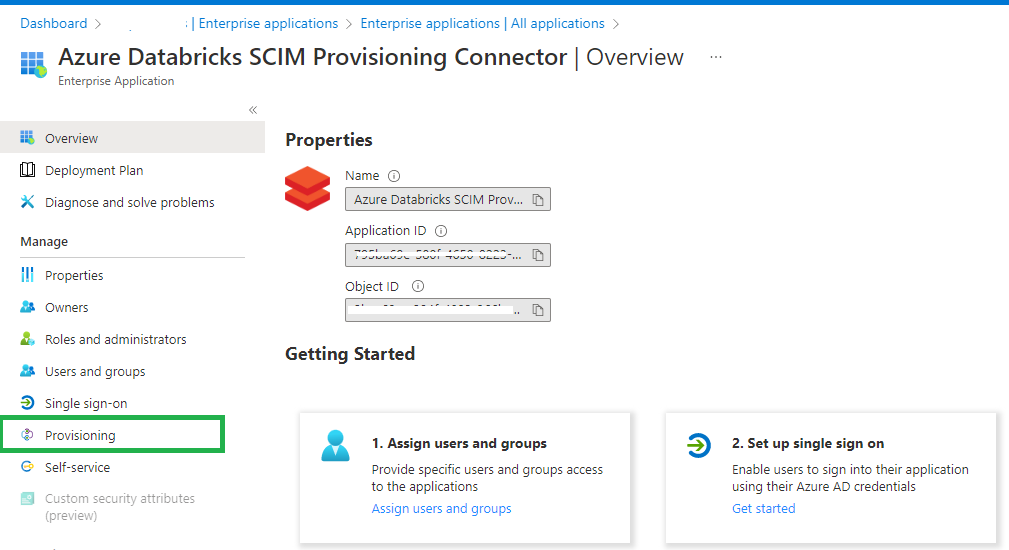
Configure the Enterprise Application
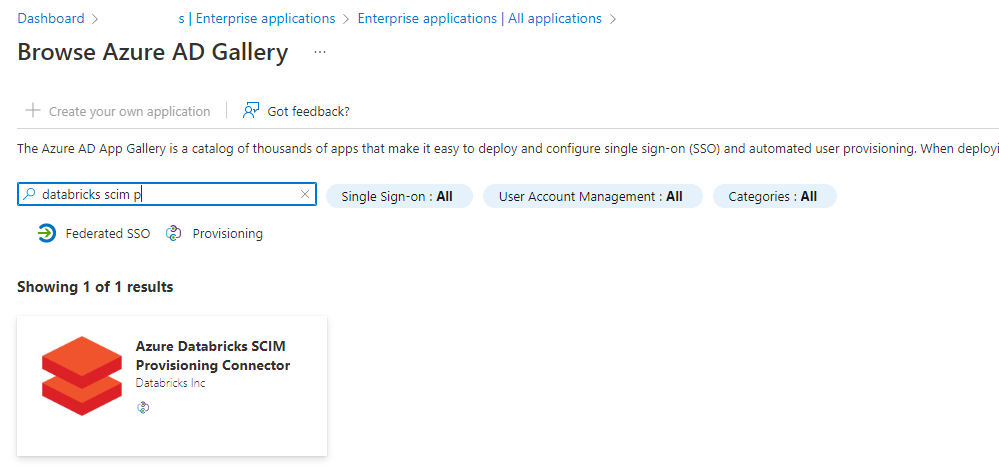
In the Azure portal, go to Azure Active Directory > Enterprise Applications.
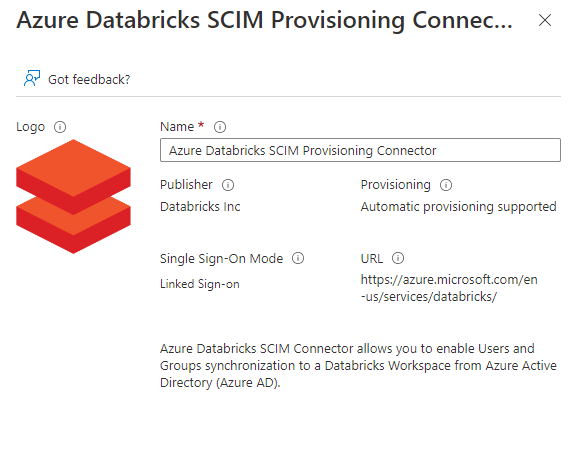
Click on new application and search for the "Azure Databricks SCIM Provisioning Connector"
Click on the app:
Enter a Name for the application, I used Azure Databricks SCIM AzureDataBricksWestEurope
Click on Create and wait until the application is created.
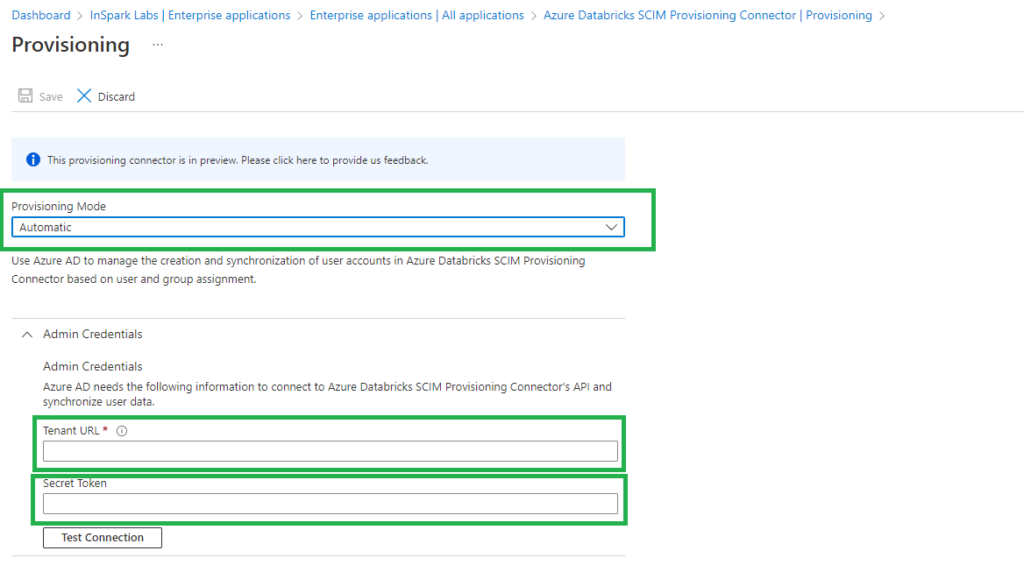
Click on Provisioning and set Provisioning Mode to Automatic.
Set the Tenant URL to the Account SCIM URL that we saved earlier in our Key Vault.
Set Secret Token to the Azure Databricks SCIM token that we generated and saved earlier in our Key Vault.
Click on Test Connection so see if everything is configured correctly.
In my next blogI will explain how to Assign and Provision users and groups in the Enterprise Application(SCIM).
Connect and Manage Azure Databricks in Microsoft Purview
This week the Purview team released a new feature, you’re now able to Connect and manage Azure Databricks in Microsoft Purview.
This new functionality is almost the same as the Hive Metastore connector which you could use earlier to scan an Azure Databricks Workspace. This new connector is an easier way to setup scanning for your Azure Databricks Workspace.
Tables including the columns, foreign keys, unique constraints, and storage description.
Views including the columns and storage description.
Fetching relationship between external tables and Azure Data Lake Storage Gen2/Azure Blob assets.
Fetching static lineage on assets relationships among tables and views.
Let’s have a look how to setup this connector, before you can start make sure you have the following Prerequisites in place:
Microsoft Purview account with Data Source Administrator and Data Reader permissions.
Self-Hosted Integration Runtime.
Personal access token in Azure Data Bricks.
Cluster in Azure Data Bricks.
Register the Azure Databricks Workspace
Select Data Map on the left pane and select Sources.
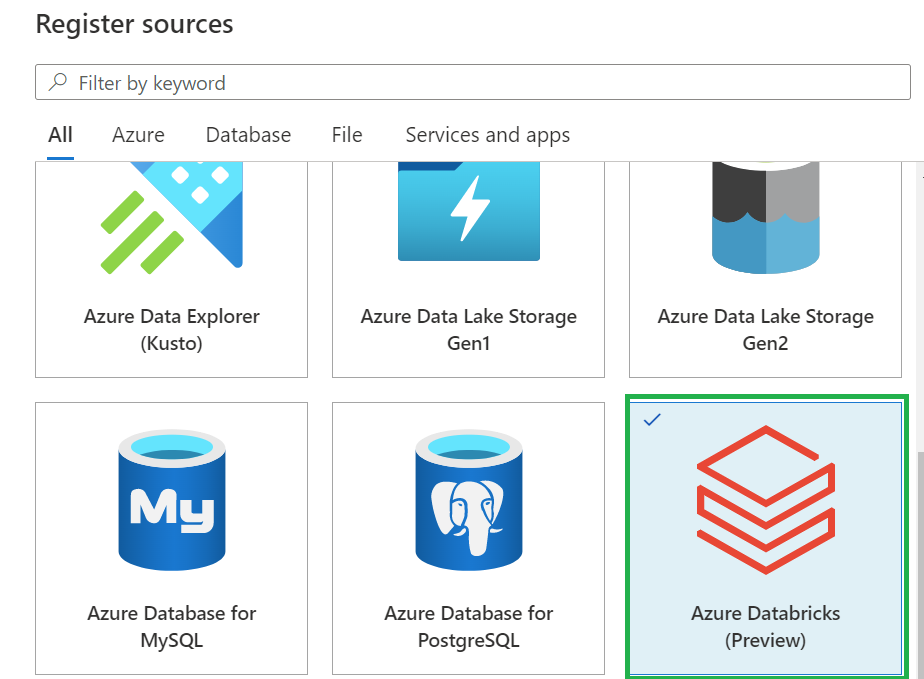
Select Register.
In Register sources, select Azure Databricks and click on Continue.
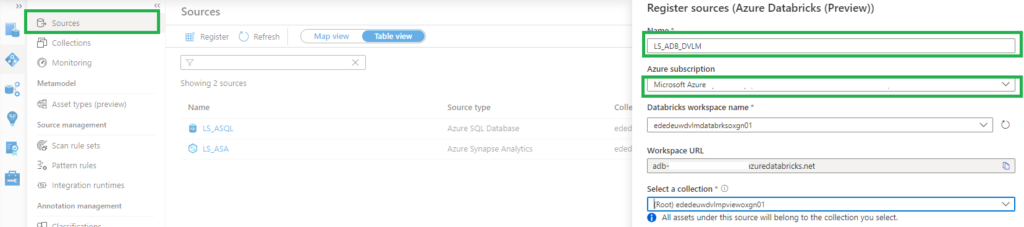
On the Register sources (Azure Databricks) screen, do the following:
Enter a name that Microsoft Purview will list as the data source.
Select the subscription and workspace that you want to scan from the dropdown list.
Select a collection.
Setup the Integration Runtime
Select Data Map on the left pane and select Integration Runtime.
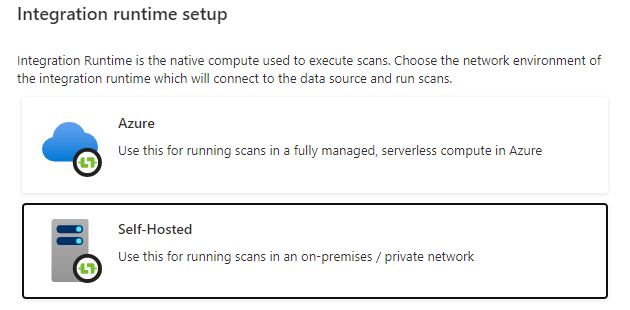
Click on New.
Select the Self-Hosted.
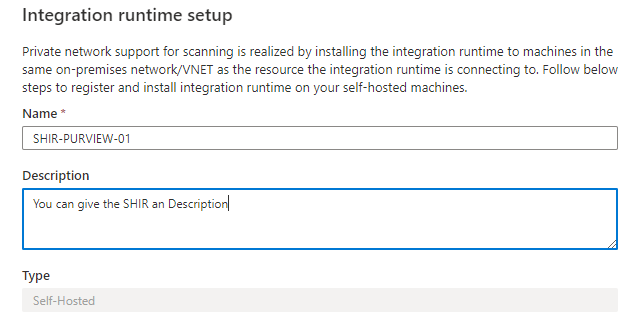
Enter a name and description, click on create.
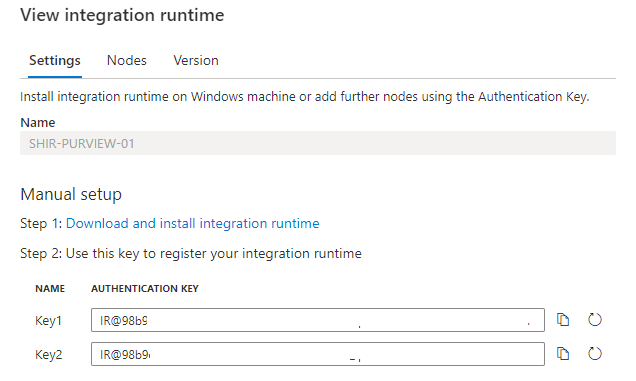
Copy the authentication key.
Configure the Self-Hosted Integration Runtime
On an Virtual Machine in Azure:
JDK 11, must be installed, not another version, I tried it with 17 and 19 this is not working. To download the JDK 11, you need to have an Oracle account.
After installing the SHIR paste the authentication key in the Gateway to start the communication. Wait before the communication start.
Reboot your Virtual Machine to continue.
After rebooting, Select Data Map on the left pane and select Integration Runtime and check if the SHIR is running.
Setup the Scan
The last step to configure is the scan.
Select Data Map on the left pane and select Sources and select the Azure Databricks you just created.
Select New Scan.
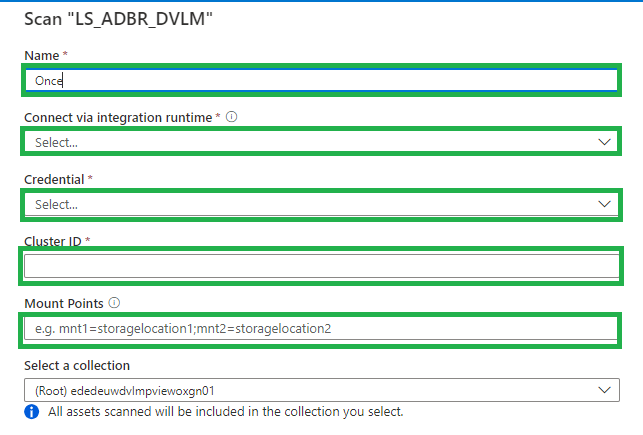
Name, create a logical name for your scan. Weekly, Monthly, Once or a different name. TIP, add your clustername or id to the scanname. You need to create a scan for every cluster in an Azure Databricks workspace. This way you can see the difference between the clusters.
Connect via IR, select the SHIR you just created.
Credential, select the Personal Acces token, which is stored in de Azure KeyVault.
Cluster ID, Specify the cluster ID that Microsoft Purview need to connect to, to perform the scan.
Mount Point, if you have external storage manually mounted to Databricks, you provide the locations here. Use the following format /mnt/<path>=abfss://<container>@<adls_gen2_storage_account>.dfs.core.windows.net/.
Maximum memory available: Specify the maximum memory available in GB to be used by scanning processes. If the field is left blank, 1 GB will be considered as a default value.
The default location of the cache in your VM is C:WindowsServiceProfilesDIAHostServiceAppDataLocalMicrosoftAzureDataCatalogCache. Unselect the checkbox if you want cache to be stored in a different location.
Click on continue.
Select the trigger you want. Click on save and run.
Check if the scan starts, be aware that the scan will trigger your Azure Databricks cluster to start.
Browse and search assets
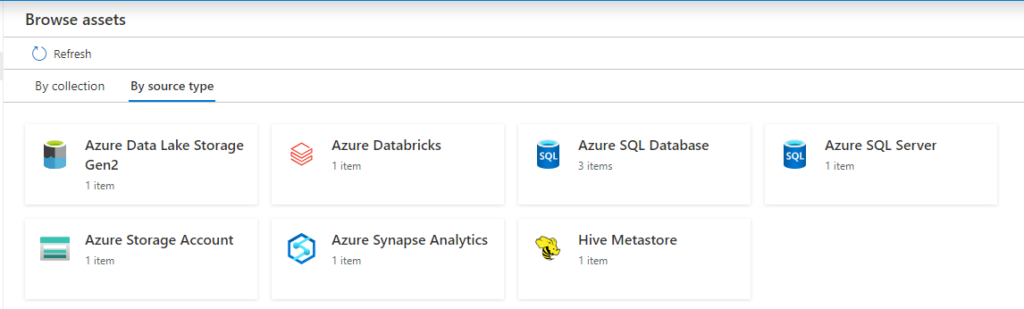
Once the data is scanned you can browse and search the Metadata.
Select Data Catalog on the left pane and select Browse Assets.
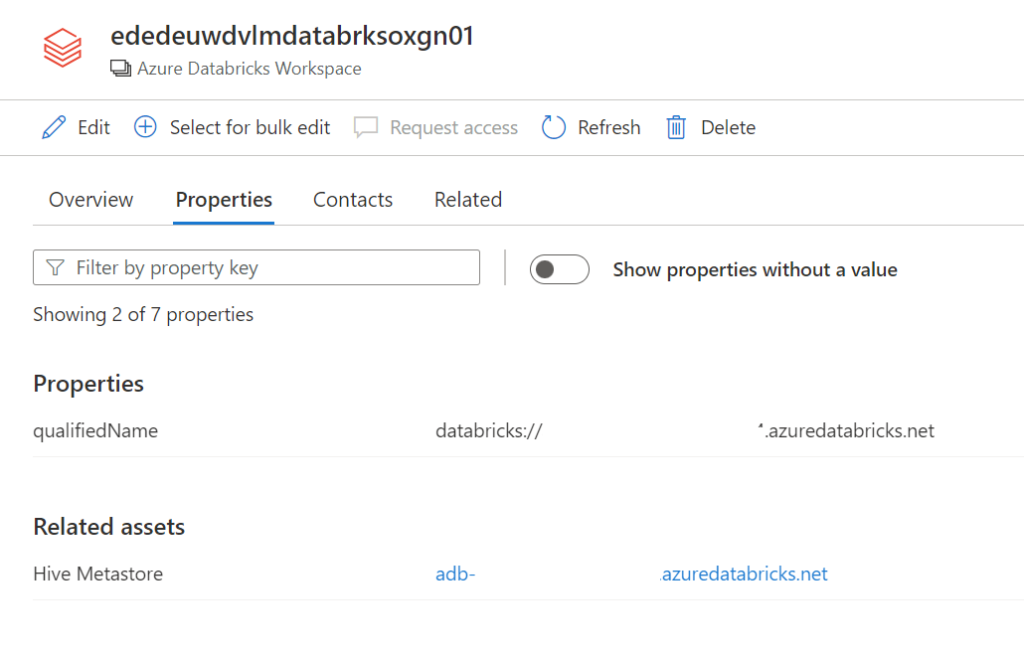
From the Databricks workspace asset, you can find the associated Hive Metastore.
Select the Azure Databricks and click on edit details on the right side.
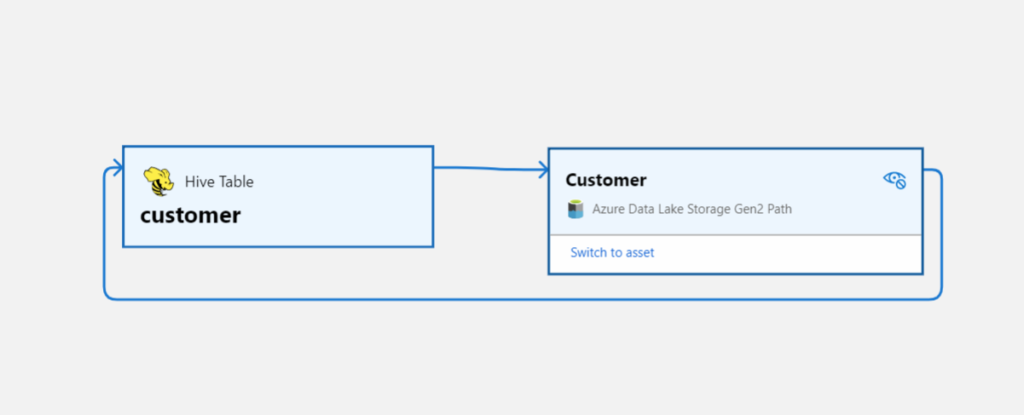
Click on Hive Metastore, on the Related tab you can see the Hive DB and the assets. Click on one of the assets to see the lineage when applicable.
Conclusion
The first steps towards a Native integration of Azure Databricks is now available in Microsoft Purview, but we're not there yet. If you want to have a more extensive lineage and can read more details from the Notebooks execution including Delta Lake than, I advise you to use the Azure Databricks to Purview Lineage Connector.
In the notes of this Solution Accelerators, is noted "With native models in Microsoft Purview for Azure Databricks, customers will get enriched experiences in lineage such as detailed transformations." So hopefully we can expect more in the future.
Be aware that lineage is available at the asset level not at column level, hopefully that will arrive soon.
In the notes of the above Solution Accelerators, is noted "With native models in Microsoft Purview for Azure Databricks, customers will get enriched experiences in lineage such as detailed transformations." So hopefully we can expect more in the future.
Like always in case you have questions, do not hesitate to contact me.