
Provision users and groups from AAD to Azure Databricks (part 2)
Assign and Provision users and groups in the Enterprise Application
In the previous blog you learned how to configure the Enterprise Application. In this blog, you will learn how to assign and Provision Users and Groups.
Once the Users and groups are assigned to the Enterprise application you can provision the Users and groups to your Azure Databricks account or Azure Databricks Workspace.
Add users and groups
Click on the Add user/group in the Enterprise application on the left pane to add the required users and groups.
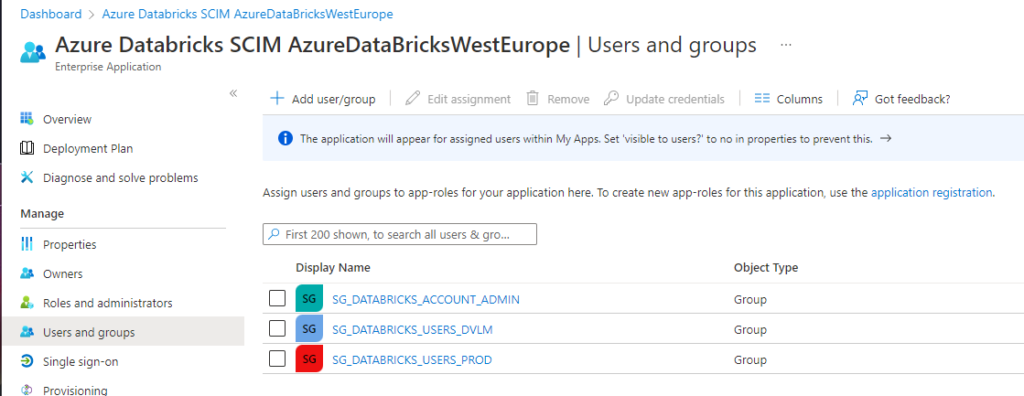

When you see above message, that means that you don't have a Premium Azure Active Directory edition account. Don't worry, you can still provision users, for Groups you to need a Premium edition.
Note: If you have existing Azure Databricks workspaces, in case you sync on Account Level, make sure that you add all existing users and groups in those workspaces to the above Enterprise application.
Start the provisioning
The last step is to provision the users and the groups. The provision will automatically sync the assigned users and groups to your Azure Databricks account.
Go back to the provisioning option on the left pane.
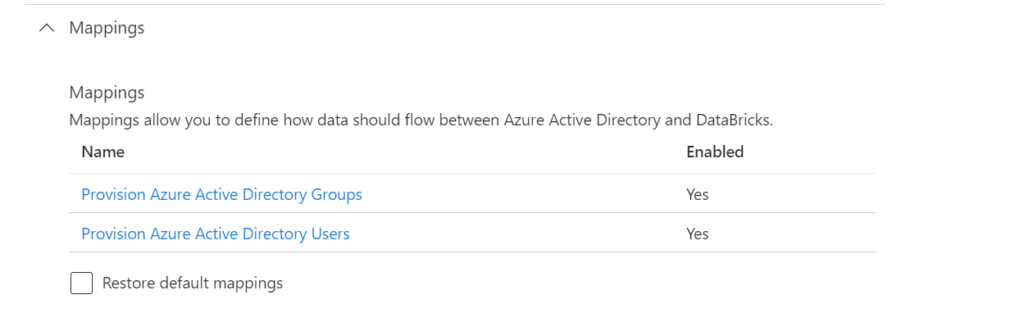
Mappings
Enable the user and group sync option in the mappings section.
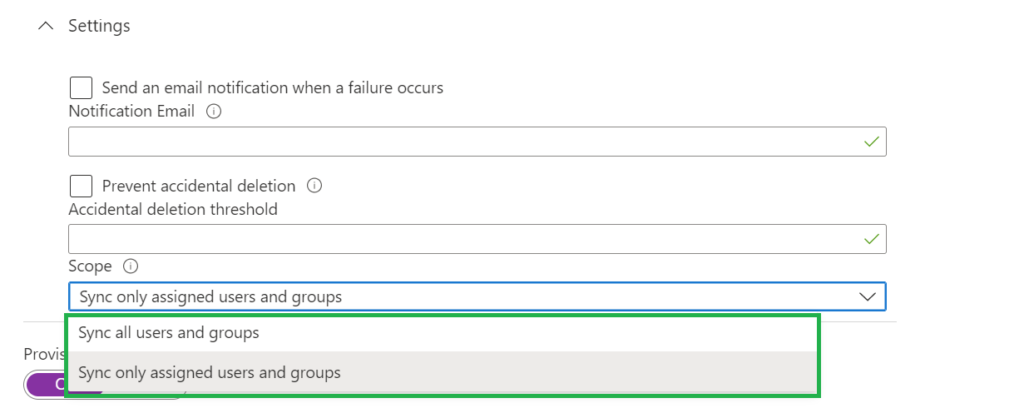
Settings
Set the scope to Sync only assigned users and groups, otherwise all your users in your Azure Active Directory will be synced, which is not necessary
The next step is, set the Provisioning Status toggle to on.
After a few minutes your users will be synced.
There are 2 more options which we can set:
Notification Email: Send an email notification when a failure occurs
Prevent accidental deletion: Set a threshold for Accidental deletion more on how this works can be found here.
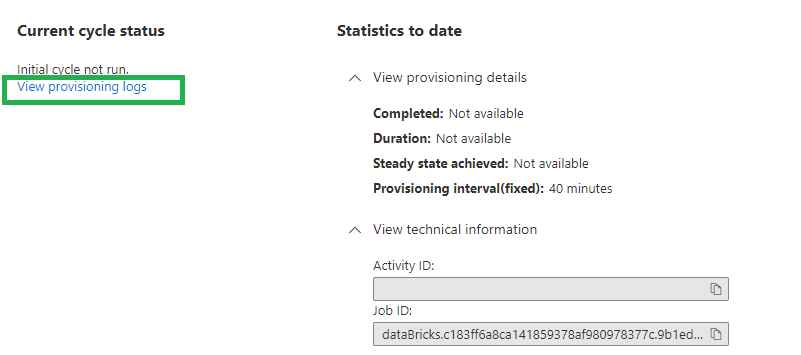
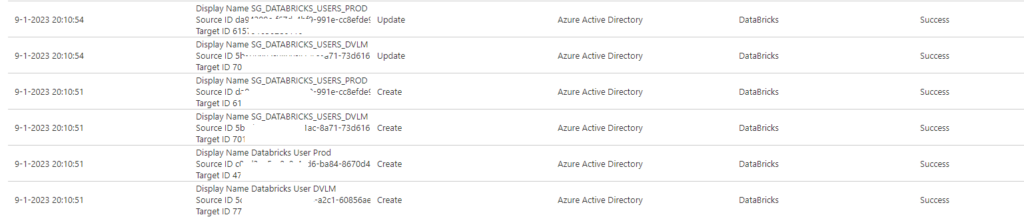
Checking the Provisioning Logs
Tips and tricks for Provisioning
- Reassigning Microsoft Fabric Capacities in Bulk: Don’t Let an Expiring Trial Catch You by Surprise

- Bringing Column-Level Lineage from Microsoft Fabric to Microsoft Purview with FMD
- My first experience: Building a Fabric App

- Fabric Metadata Driven Framework update May 2026
- FMD Framework Update April 2026: Identity Improvements, SCD2 Fixes & Stability Enhancements

Feel free to leave a comment
Discover more from Erwin | Data & Intelligence
Subscribe to get the latest posts sent to your email.
0 Comments