Provision users and groups from AAD to Azure Databricks (part 5)
Azure
Add Service principals to your Azure Databricks account using the account console
In the previous blog, you assigned Users and Groups to an Azure Databricks Workspace. In this blog, you will learn how to assign Service Principals to an Azure Databricks Workspace and define the correct entitlements.
As a security best practice, Databricks recommends using an Azure AD service principal and its Azure AD token instead of your Azure Databricks user or your Databricks personal access token for your workspace user to give CI/CD platforms access to Azure Databricks resources. More details can be found in the following link Service principals for CI/CD
To add a service principal to the account using the account console:
- As an account admin, log in to the account console.

- Click User management.
- On the Service principals tab, click Add service principal. Click here to create a new service principal.
- Enter a name for the service principal.
- Under UUID, enter the Application (client) ID for the service principal.
- Click Add.

Assign Service Principal to Azure Databricks Workspace
Log in to your Workspace, in case you're still logged in, in your account console, you can open the workspace directly from Data setting icon, on the left side.
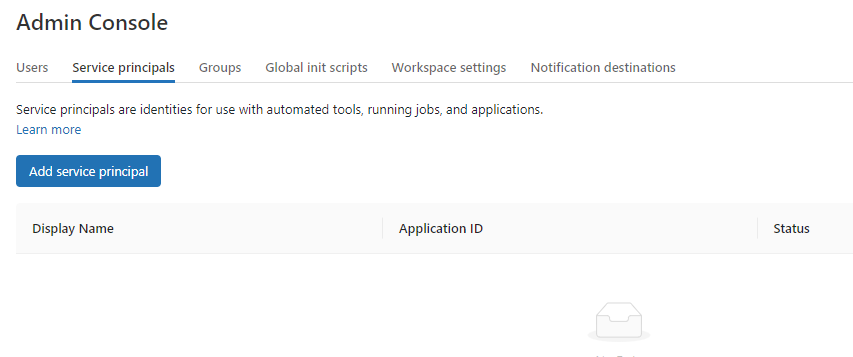
Once the Workspace is open, select the admin console in the upper right corner.
Select Service Principals.
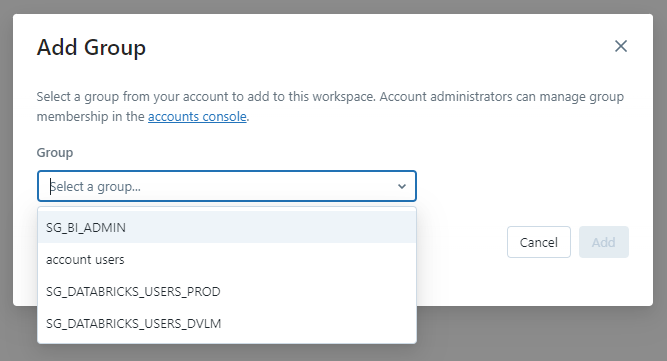
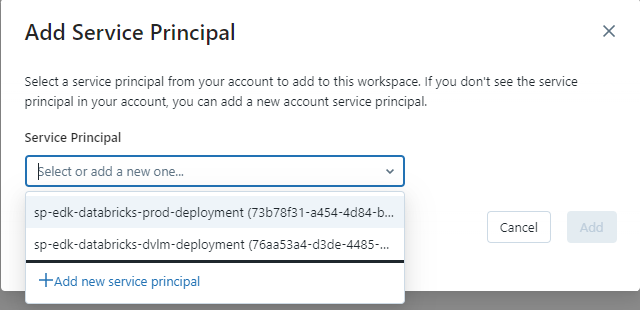
Add Service Principals.
Select the Service Principal you want to add one by one.
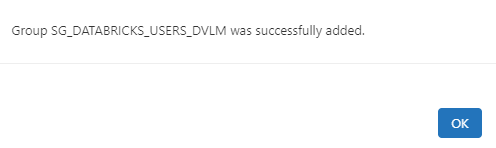
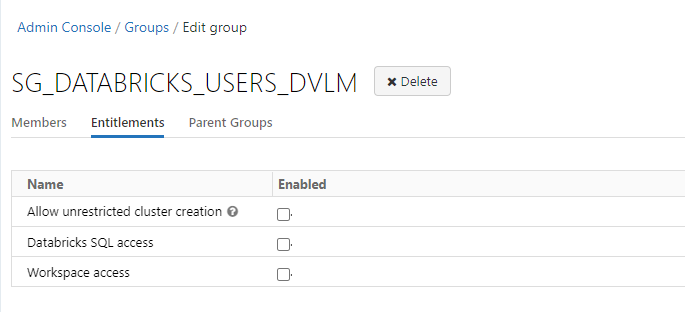
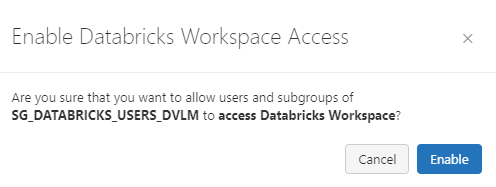
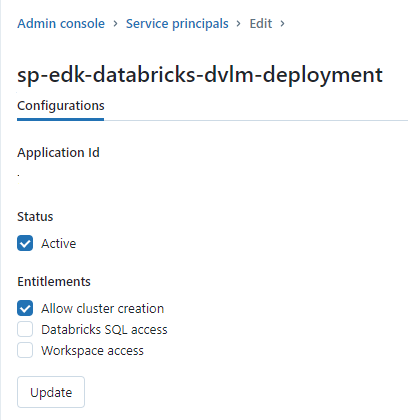
The Service Principal is now visible and you can assign the correct entitlements to the Service Principal.
Once the Service Principal has been added, the service principal will also be visible in your Azure Databricks account.
Workspaces
Click on the correct Workspace, permissions and you can see that the Service Principal is now visible here as well. If needed you can change the role from beying a regular user to a full admin
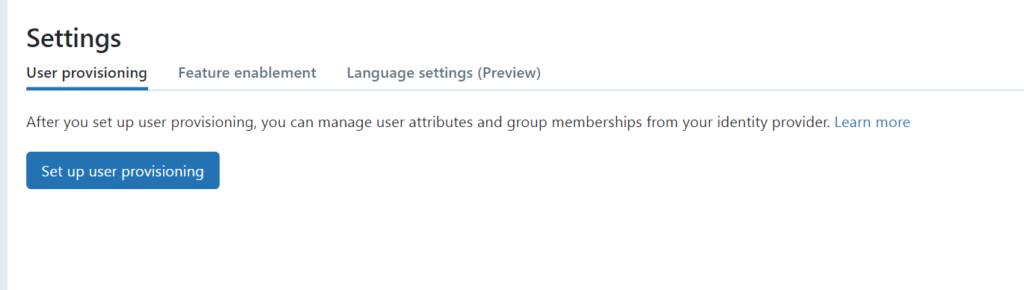
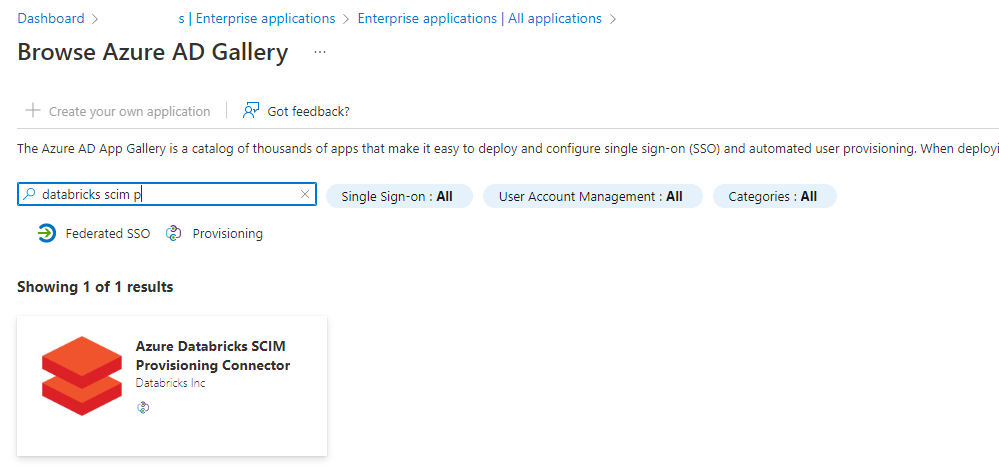
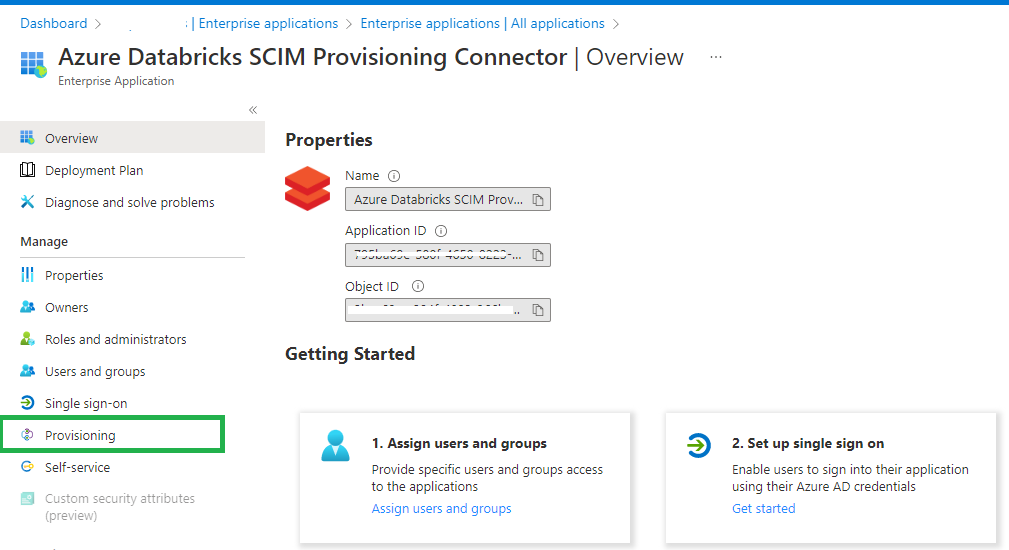
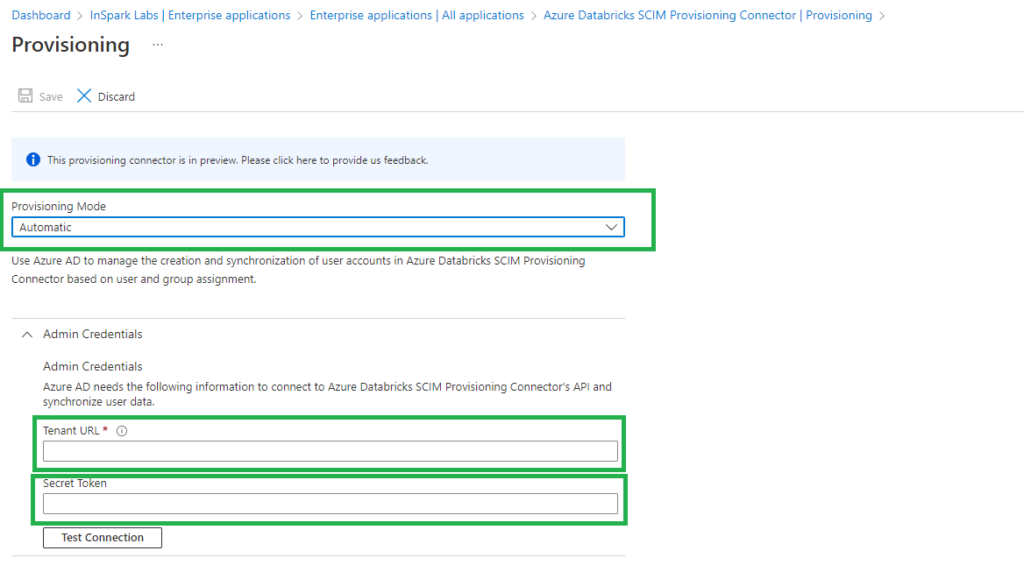
In my next blog, you will how to configure the Enterprise Application(SCIM) for Azure Databricks Workspace provisioning.
Other Blog post in this serie:
- Configure the Enterprise Application(SCIM) for Azure Databricks Account Level provisioning
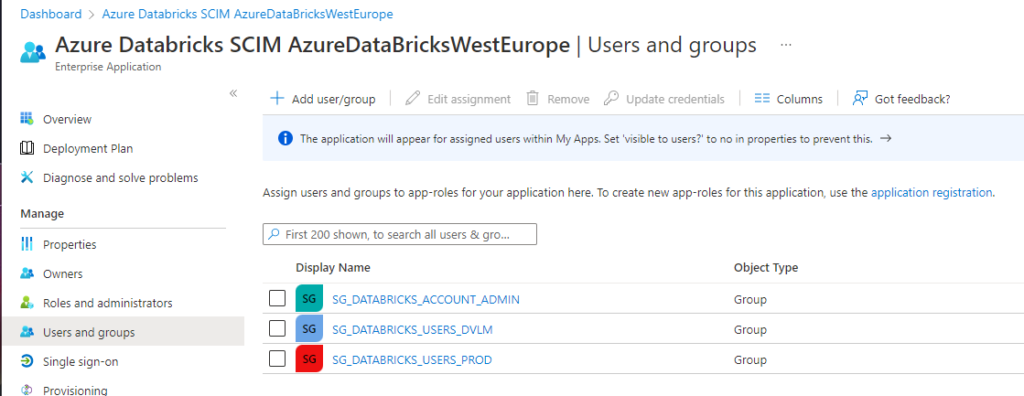
- Assign and Provision users and groups in the Enterprise Application(SCIM)
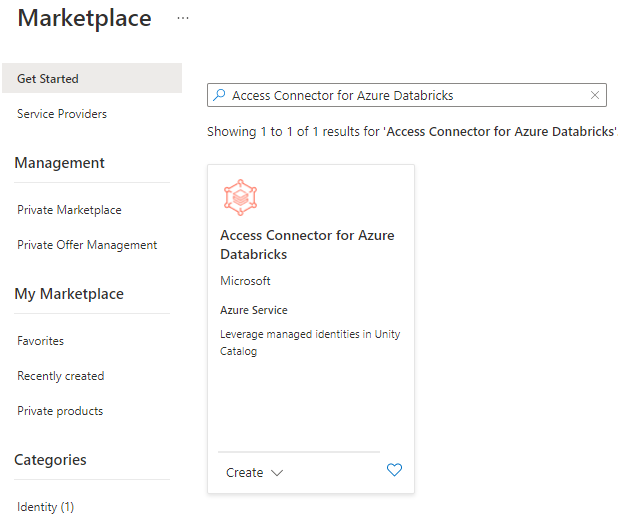
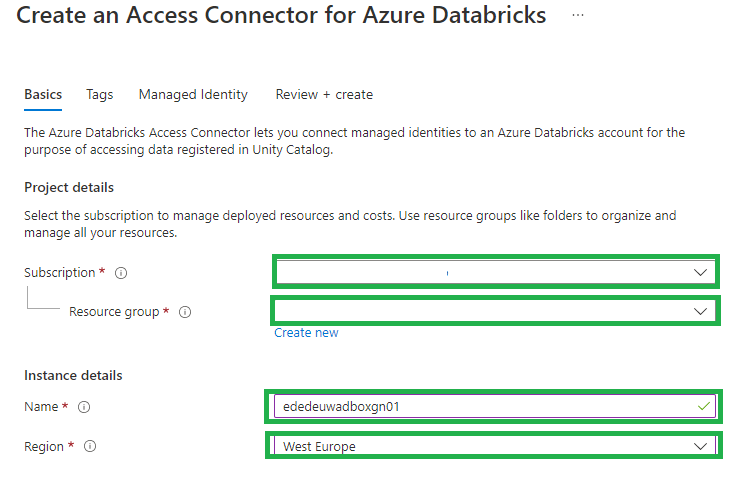
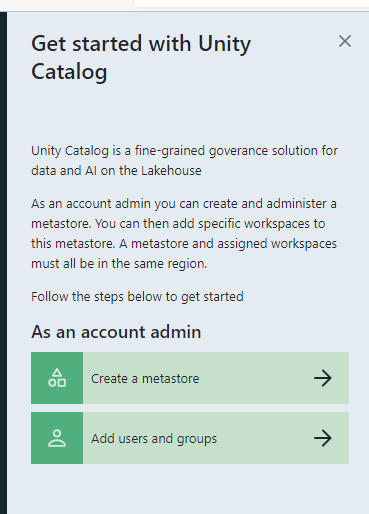
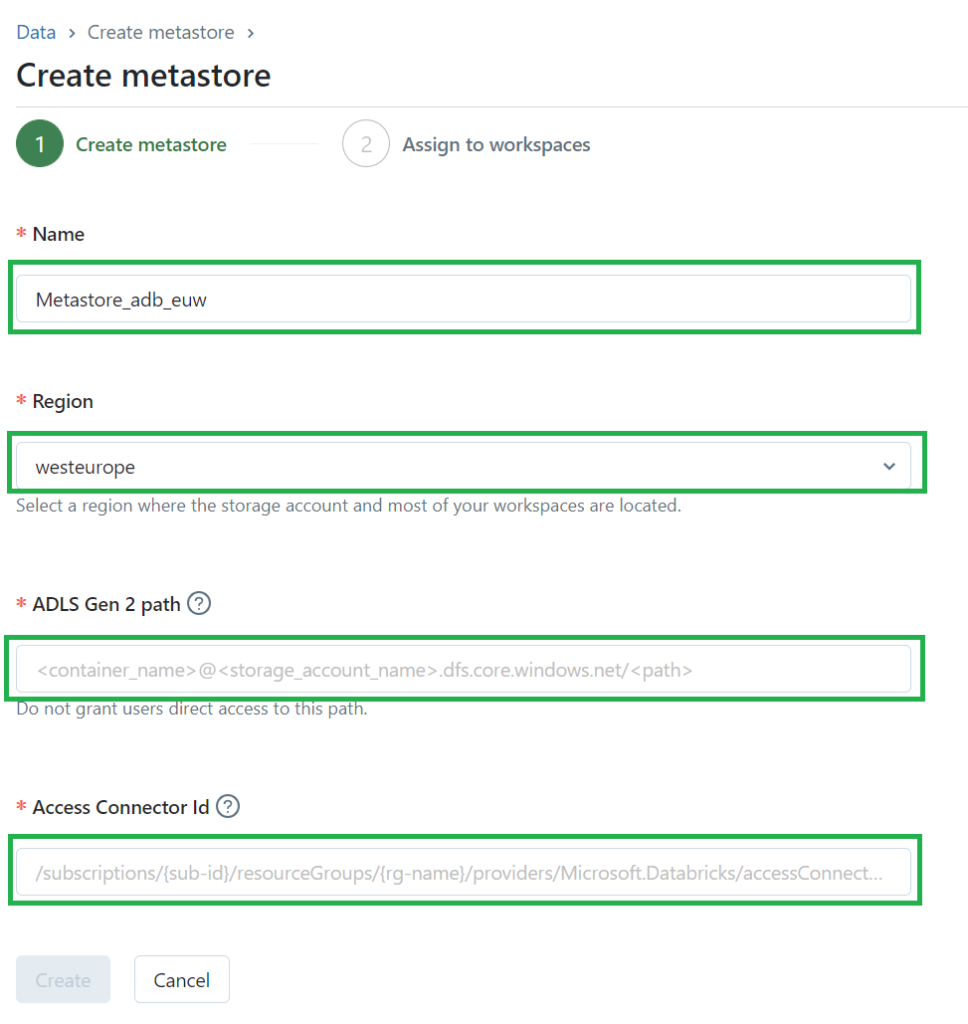
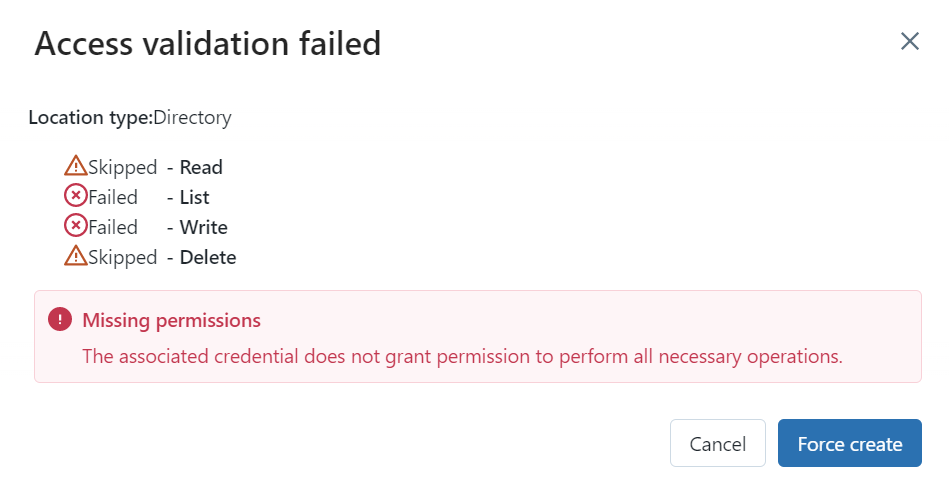
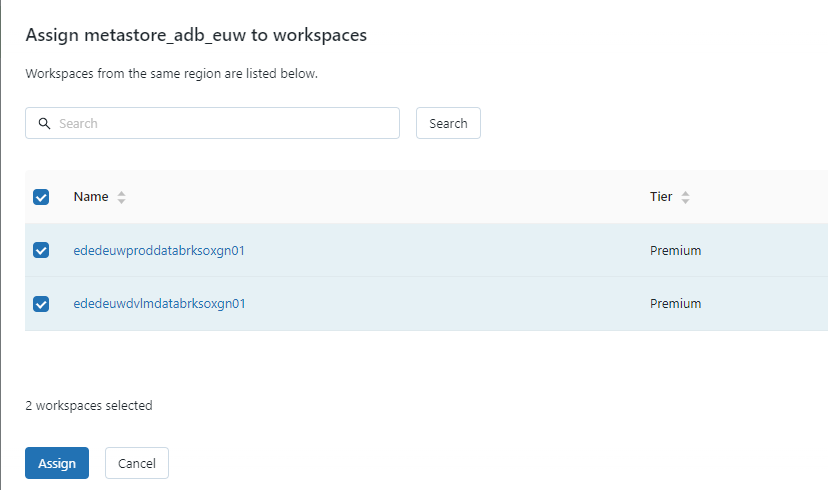
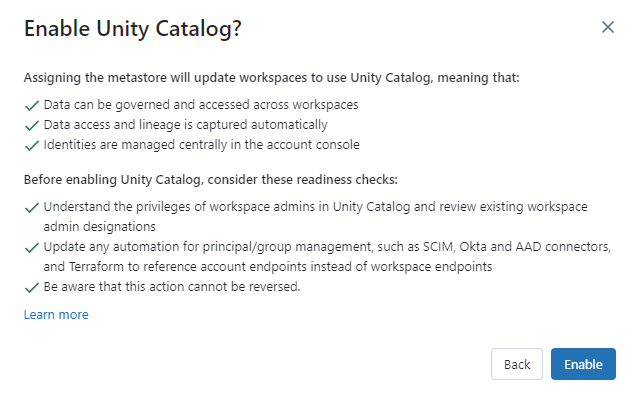
- Creating a metastore in your Azure Databricks account to assign an Azure Databricks Workspace
- Assign Users and groups to an Azure Databricks Workspace and define the correct entitlements
- Add Service Principals to your Azure Databricks account using the account console
- Configure the Enterprise Application(SCIM) for Azure Databricks Workspace provisioning
- Fabric Metadata Driven Framework July 2026 Release Notes

- Reassigning Microsoft Fabric Capacities in Bulk: Don’t Let an Expiring Trial Catch You by Surprise
- Bringing Column-Level Lineage from Microsoft Fabric to Microsoft Purview with FMD
- My first experience: Building a Fabric App
- Fabric Metadata Driven Framework update May 2026